Catalog
|
------------ |
------------ |
| CATALOG_NAME |
test.cat |
name of the output catalog |
| CATALOG_TYPE |
ASCII_HEAD |
"NONE","ASCII_HEAD","ASCII","FITS_1.0"
or "FITS_LDAC" |
| PARAMETERS_NAME |
default.param |
name of the file containing
catalog contents |
| Extraction |
------------
|
------------ |
| DETECT_TYPE |
CCD |
"CCD" or "PHOTO" |
| FLAG_IMAGE |
flag.fits |
filename for an input FLAG-image
NOTE:
this is similar to the Bad-Pixel-Mask of OBJMASK
|
| DETECT_MINAREA |
5
|
minimum number of pixels above
threshold |
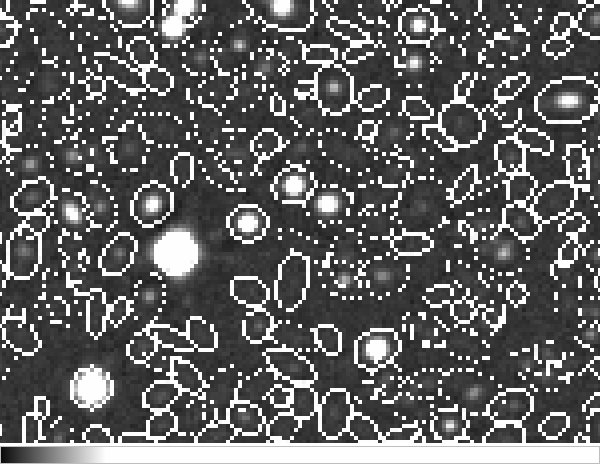
| DETECT_THRESH |
1.5
|
<sigmas> or
<threshold>,<ZP> in mag.arcsec-2 |
ANALYSIS_THRESH
|
1.5
|
<sigmas> or
<threshold>,<ZP> in mag.arcsec-2 |
| FILTER |
Y
|
apply filter for detection ("Y"
or "N")? |
| FILTER_NAME |
default.conv |
name of the file containing the
filter |
| DEBLEND_NTHRESH |
32
|
Number of deblending
sub-thresholds |
| DEBLEND_MINCONT |
.005
|
Minimum contrast parameter for
deblending |
| CLEAN |
Y
|
Clean spurious detections? (Y or
N)? |
| CLEAN_PARAM |
1.0
|
Cleaning efficiency |
| MASK_TYPE |
CORRECT |
type of detection MASKing: can
be one of "NONE", "BLANK" or "CORRECT" |
Photometry
|
------------ |
------------ |
| PHOT_APERTURES |
5
|
MAG_APER aperture diameter(s) in
pixels |
| PHOT_AUTOPARAMS |
2.5, 3.5 |
MAG_AUTO parameters:
<Kron_fact>,<min_radius> |
| PHOT_PETROPARAMS |
2.0, 3.5 |
MAG_PETRO parameters:
<Petrosian_fact>, <min_radius> |
SATUR_LEVEL
|
50000.0 |
level (in ADUs) at which arises
saturation |
| MAG_ZEROPOINT |
0.0
|
magnitude zero-point |
MAG_GAMMA
|
4.0 |
gamma of emulsion (for
photographic scans) |
| GAIN |
0.0
|
detector gain in e-/ADU |
| PIXEL_SCALE |
1.0
|
size of pixel in arcsec (0=use
FITS WCS info) |
| Star/Galaxy Separation |
------------ |
------------ |
| SEEING_FWHM |
1.2 |
stellar FWHM in arcsec |
| STARNNW_NAME |
default.nnw |
Neural-Network_Weight table
filename |
| Background |
------------ |
------------ |
| BACK_SIZE |
65
|
Background mesh: <size> or
<width>,<height> |
| BACK_FILTERSIZE |
3
|
Background filter: <size>
or <width>,<height> |
| BACKPHOTO_TYPE |
GLOBAL
|
can be "GLOBAL" or "LOCAL" |
| Check Image |
------------ |
------------ |
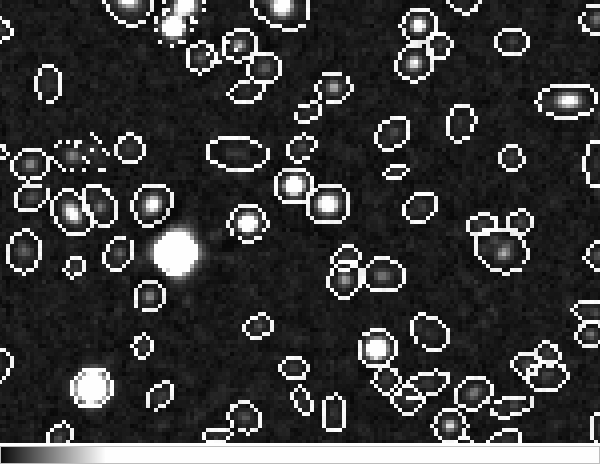
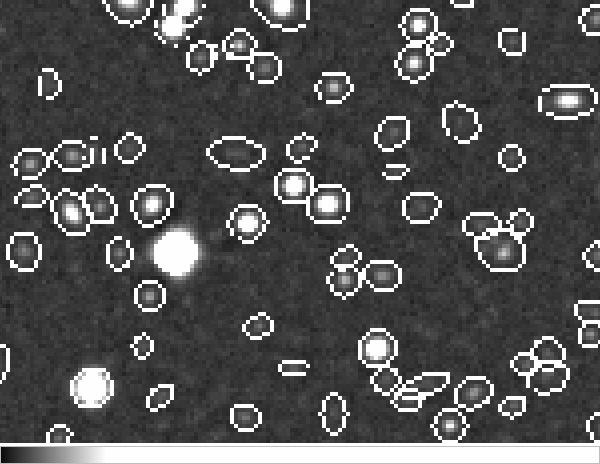
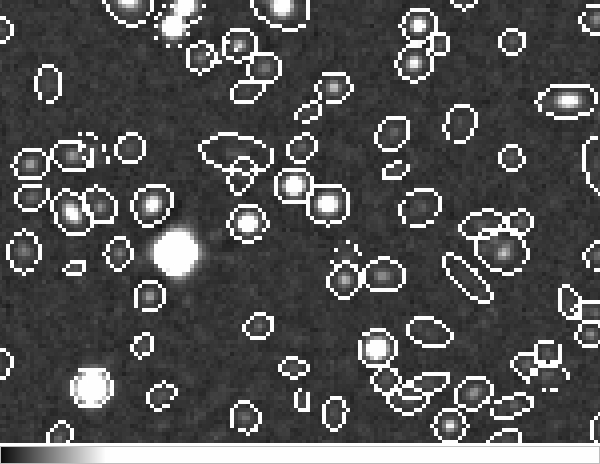
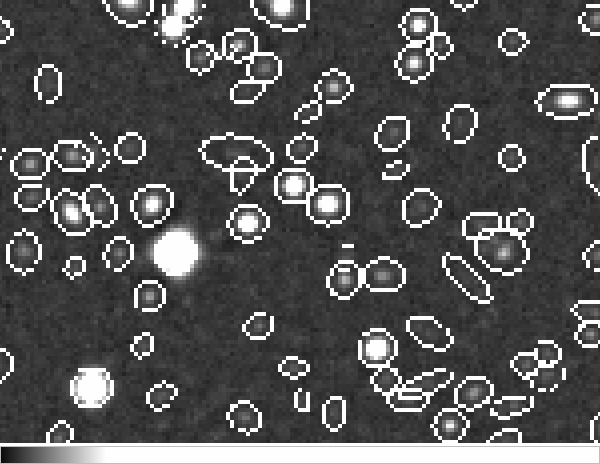
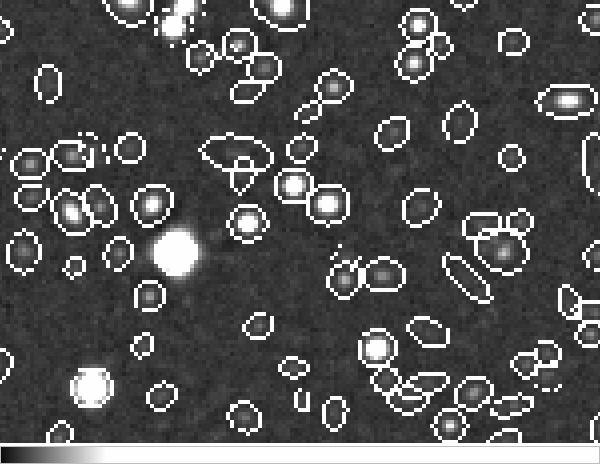
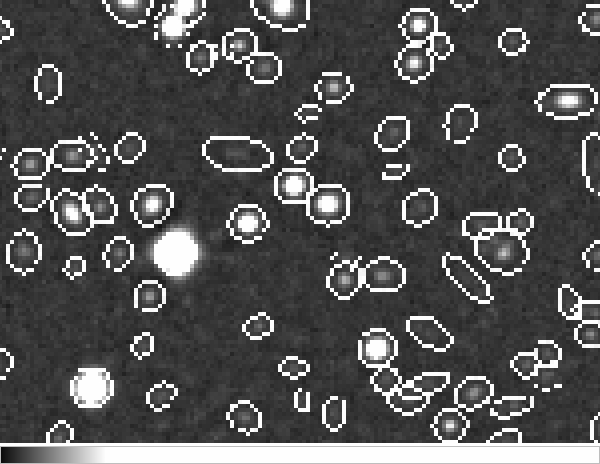
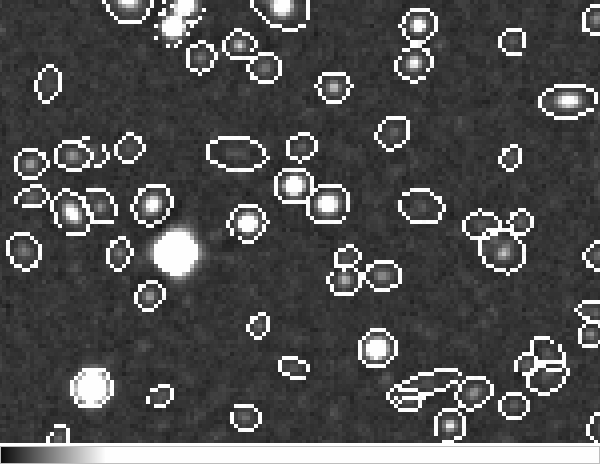
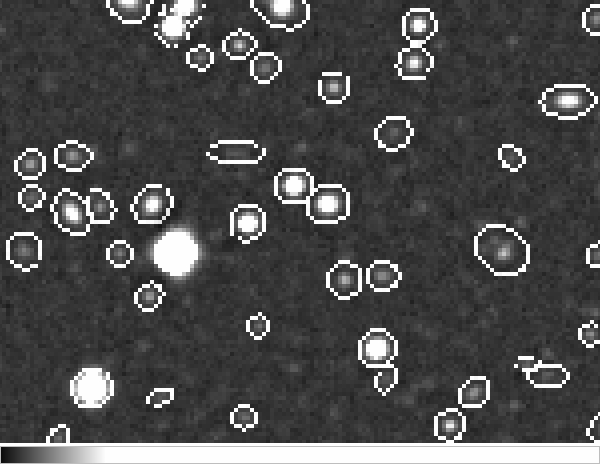
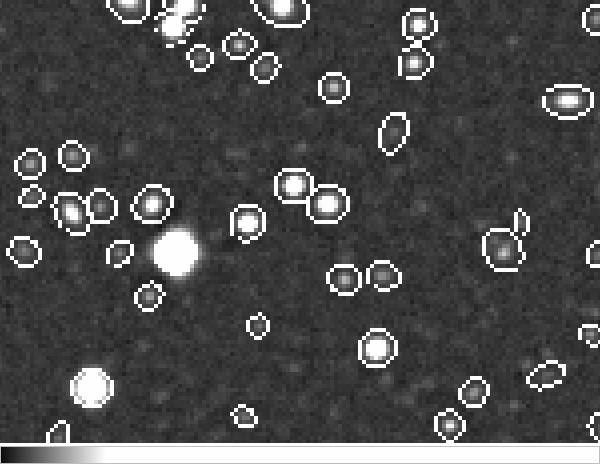
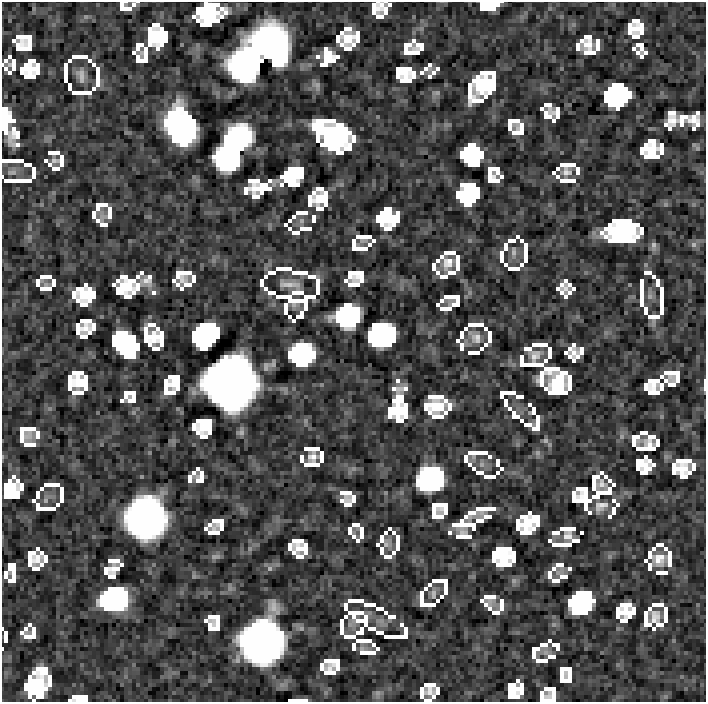
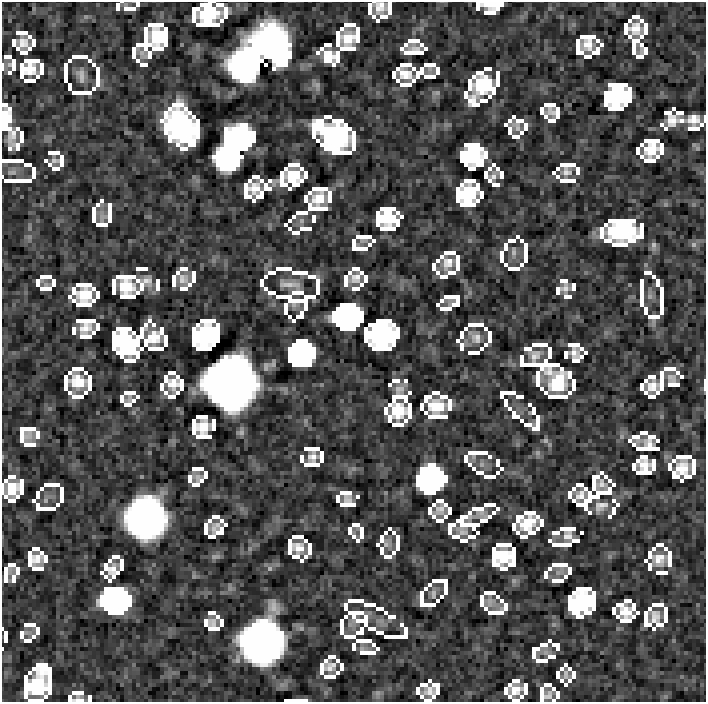
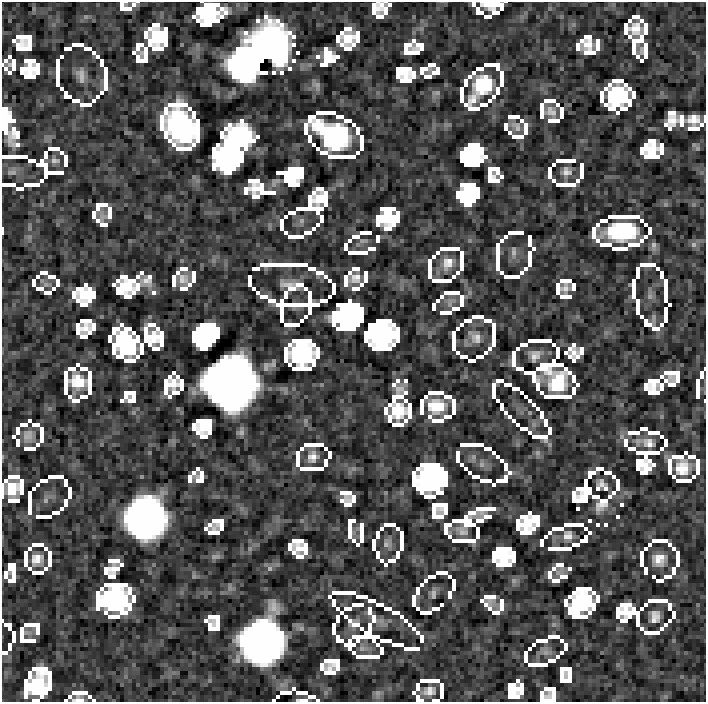
| CHECKIMAGE_TYPE |
APERTURES, BACKGROUND |
can be one of "NONE",
"BACKGROUND", "MINIBACKGROUND", "-BACKGROUND", "OBJECTS", "-OBJECTS",
"SEGMENTATION", "APERTURES", or "FILTERED" |
| CHECKIMAGE_NAME |
aper.fits, back.fits |
Filename for the check-image |
| Memory (change with caution!) |
------------ |
------------ |
| MEMORY_OBJSTACK |
3000 |
number of objects in stack |
| MEMORY_PIXSTACK |
300000 |
number of pixels in stack |
| MEMORY_BUFSIZE |
1024 |
number of lines in buffer |
| Miscellaneous |
------------ |
------------ |
| VERBOSE_TYPE |
NORMAL |
can be "QUIET", "NORMAL" or
"FULL" |