M87
- Same procedure as with NGC4473
Here's stuff that's good and makes sense: [here's
stuff that doesn't - all the gory details/notes from before]
The plan:
Make a total mask (MTM.pl), which consists of:
final star mask (see here)
finalstarmask.pl (fsm.pl is the version cropped to match our image)
hand mask (see here)
Mhand.pl
OBJ mask (see here)
Mr38sP1.pl
UN mask (see here)
Mcent80.pl [80" radius circle unmasked]
Use this mask and run ellipse
to fit the galaxy [stop at SMA=1300px, step=0.2, start at 40px center
can vary, no limits on grad.rel.err. or flagged]
[note, to use ellipse, each time you have to be
sure you have an image M.fit (instead of .fits) and put the desired
mask into M.pl, and it will be used properly]
Use bmodel to generate a
model of the fit
Subtract this model off of the original image
Run OBJ mask on this image -- makes OBJmask #2
Make a new total mask (MTM2.pl), which consists of
final star mask
hand mask
OBJmask #2 (from above) -- this makes it an
iterative process
Run ellipse to fit with this
mask now [same parameters as before] (higher order
fourier coefficients explained)
Make graphs of the a3 b3 a4 b4 parameters from the
fit
Model and Subtract the fit as before
Use newspikemode to bin up
this image and look at the STRUCTURE!
Use IRAF's imstat and imhist to get statistics on this
image
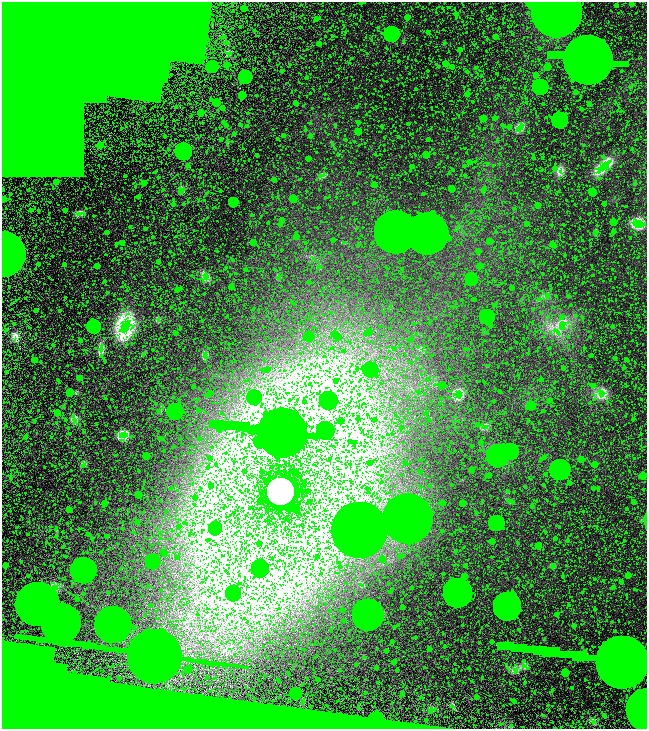
Starting out, we construct our total mask (MTM.pl) of finalstarmask
handmask and objmask. Here it is shown overlaid on the field:
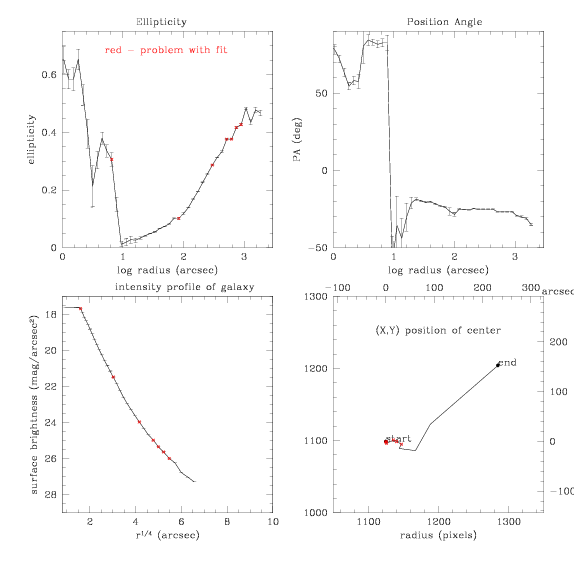
ellipse does its best and
generates this fit:
[MTM.dat]
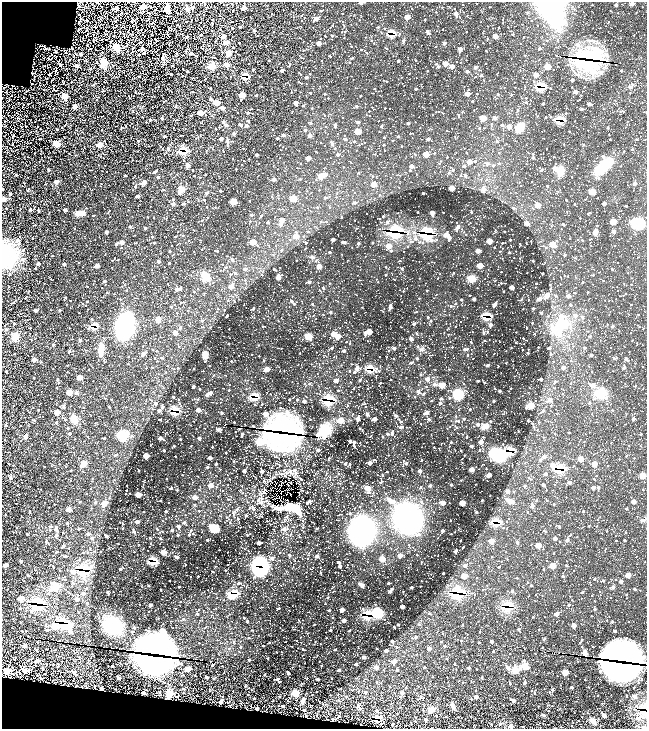
Now we construct this model (not shown, but image
is here if you want to see it) and subtract it from the original:
[MTMms.fits]
OBJmasking this image (with BPM = hand mask, hsigma = 2)
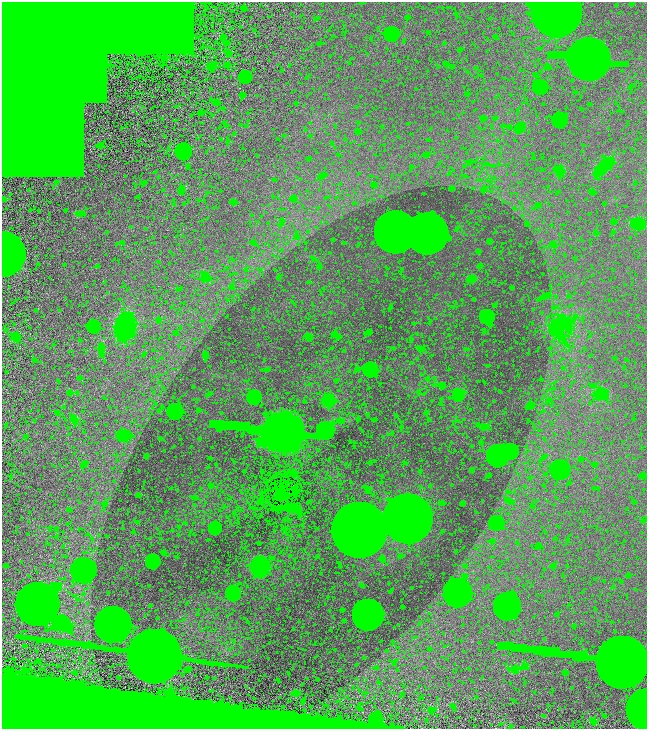
Now we make the total mask #2 (MTM2.pl) from this new OBJmask, the hand
mask, the final star mask, and the UNmask (Mcent80.pl). Here's
the IRAF command sequence, just for fun:
nproto> imarith Mhand.pl + fsm.pl
MTM2.pl
nproto> imarith MTM2.pl +
MTMmsP1.pl MTM2.pl
nproto> imarith MTM2.pl *
Mcent80.pl MTM2.pl
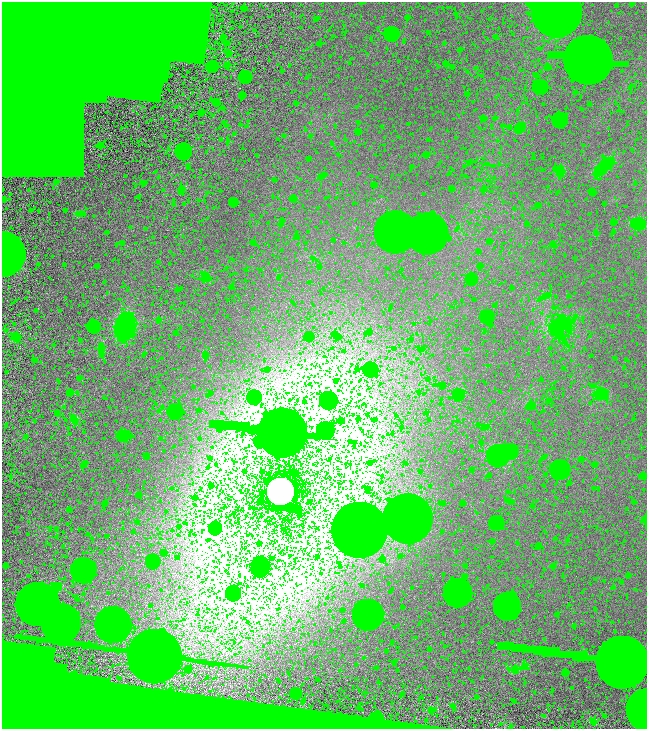
Now we have the new total mask:
[MTM2.pl on M.fits]
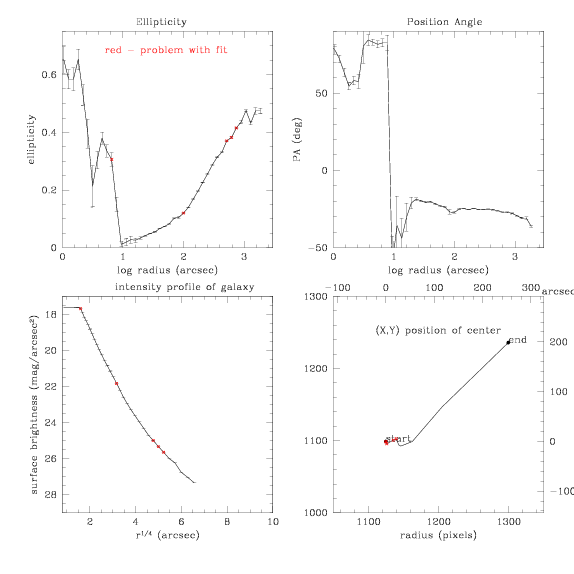
Using ellipse, we now
generate this fit:
Now let's look at those a and
b fit parameters from ellipse....
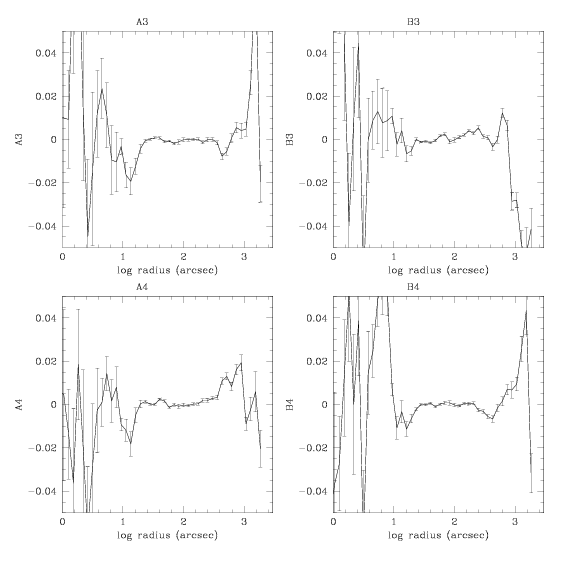
So they're pretty close to 0 mostly. Look at the small dip around
log(r)=2.6 [SMA = 300px, 435"] in all except A4.
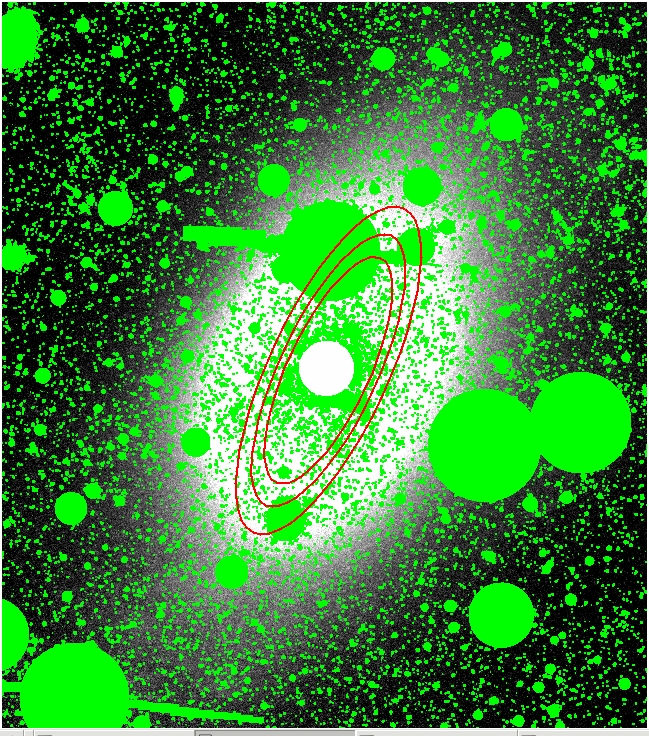
Below are some isophotes for clarity. The smallest ellipse is the point
just before the dip on A3's graph, around log(r) = 2.6.
The middle ellipse is the bottom point in the dip in A3. The biggest
ellipse is just past the deepest part of the dip, as it starts to rise.
Small: 247, Medium: 297, Large: 357 [SMA in pixels]
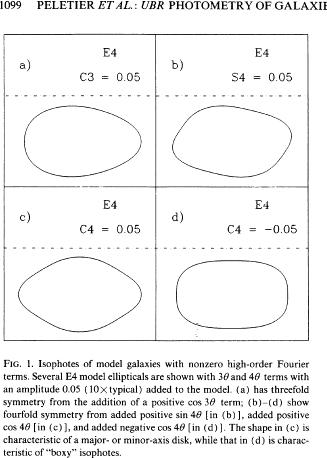
Here's a clip of info about the fit parameters from
Peletier et al 1990
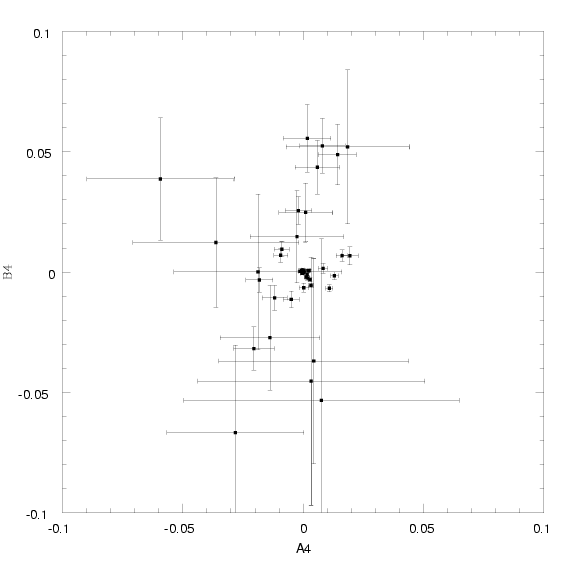
Here is a plot of B4 and A4 together, to see their
dependences on each other.
It's modelled (again, link to image) and
subtracted as shown: AND shown next to Liu et al 2005's final
model-subtracted image
[MTM2ms.fits]
Liu et al 2005
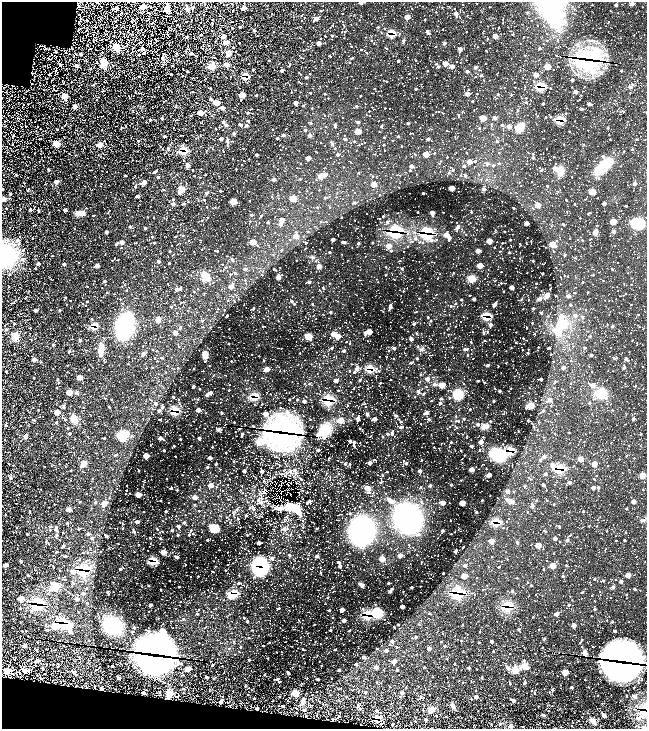

(click Liu et al's image to see full quality)
Now we need to make the total mask #3 (MTM3.pl), for newspikemode to have (and hold). We
combine these masks:
Hand mask + final star mask + OBJmask #2
(note we are NOT using the UNmask at the center)
[MTM2ms.fits with MTM3.pl overlaid]
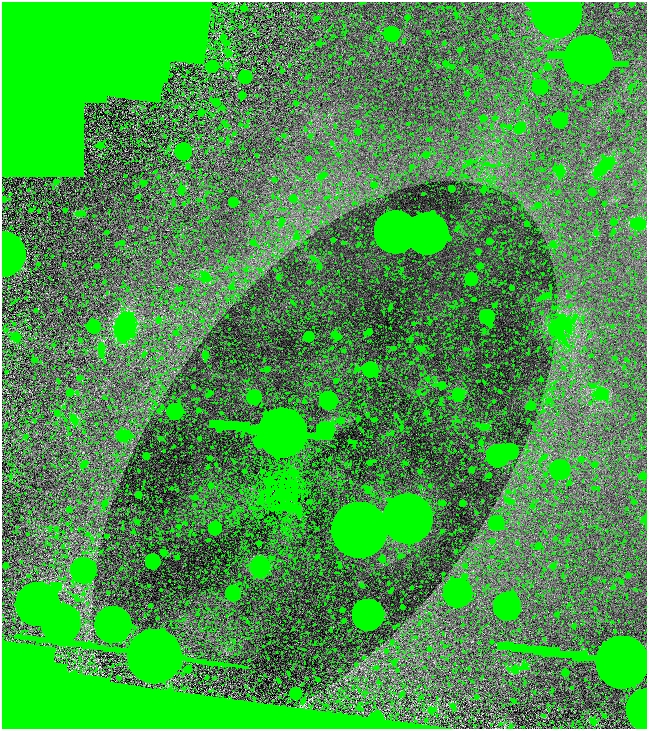
Next, this mask is also added into the header (as a .fits file!) of
MTM2ms.fits, so it will be understood by newspikemode.
This is typed: [note, median is used, as mode is still broken in this
code]
newspikemode -in MTM2ms.fits -bin 9
-mask -bigfile Mf9b.fits -smallfile Mf9s.fits -median
[Mf9b.fits] bin = 9
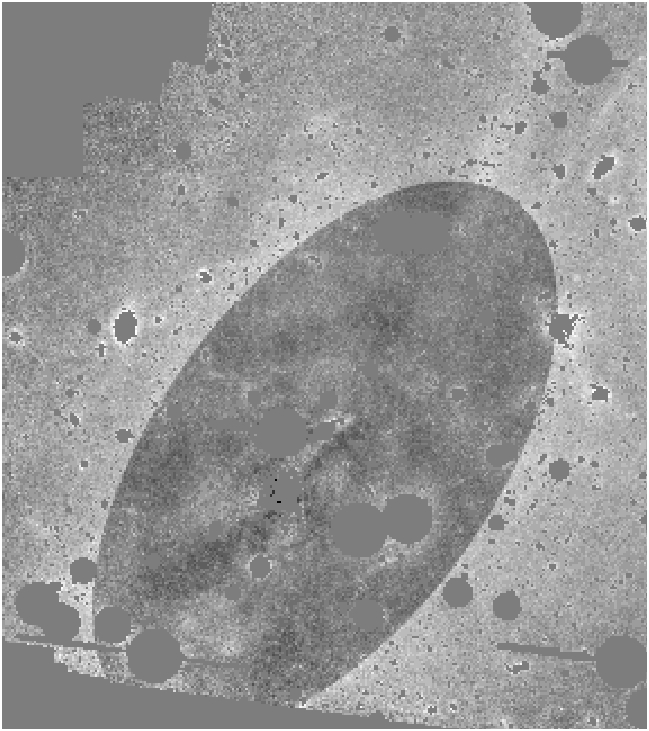
This was repeated with a bin size of 25:
[Mf25b.fits] bin = 25
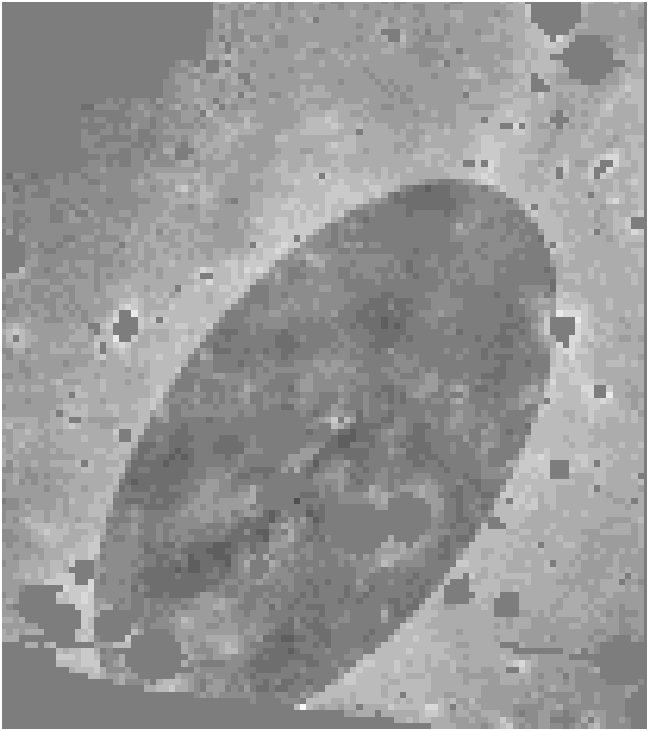
And again with a bin size of 4, just to see what happens:
[Mf4b.fits] bin = 4
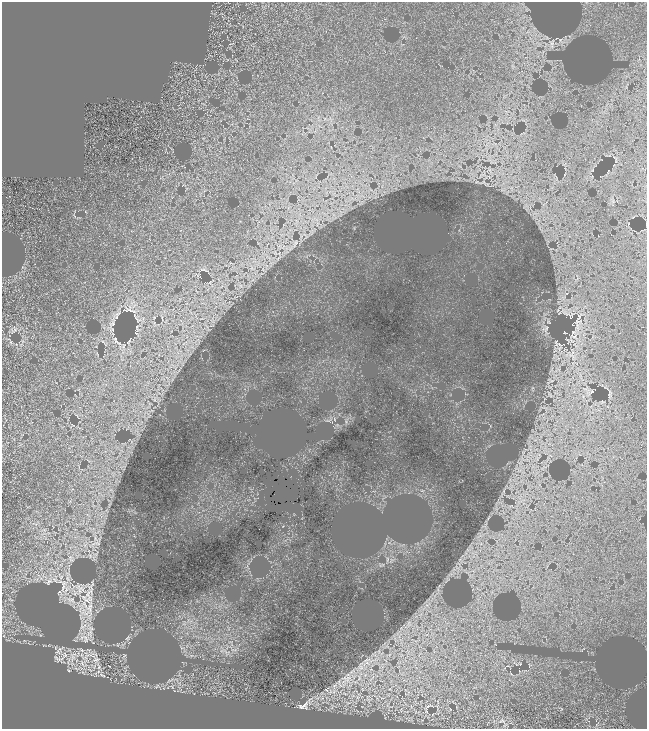
Cool! So let's work more on it:
We use impexr to look at just
the area affected by the subtraction of the model:
expr = (a>0
&& b=0)? c : -999 expression
output
= MTMcent.fits
output image
...
a
=
MTM2m.fits operand a
b
=
MTM3.pl operand b
c
=
MTM2ms.fits operand c
This resulting image is displayed here:
[MTMcent.fits]
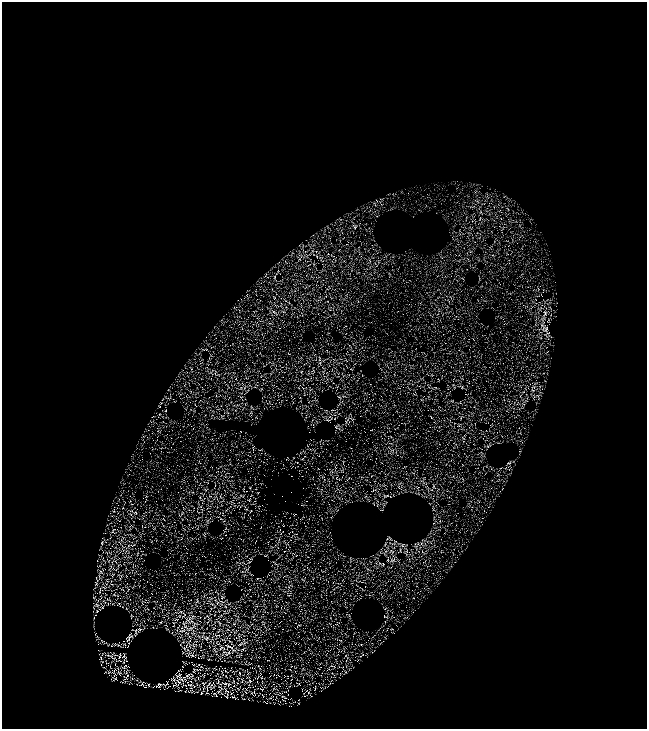
Doing some basic statistics on it, an imstat
shows:
nproto> imstat MTMcent
#
IMAGE NPIX
MEAN MIDPT
STDDEV
MIN MAX
MTMcent 1839586 0.1111
-0.008974 3.822
-37.94 33.18
Furthermore, newspikemode gives
Global image median: 4.3487549E-03
Global image mode: 98.77141
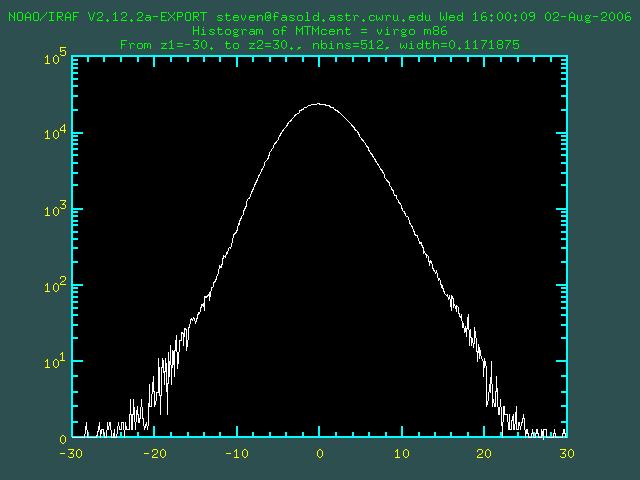
[ <-- this might be completely
wrong... newspikemode was misbehaving with modes before....]
and imhist gives
Zooming in on the center:
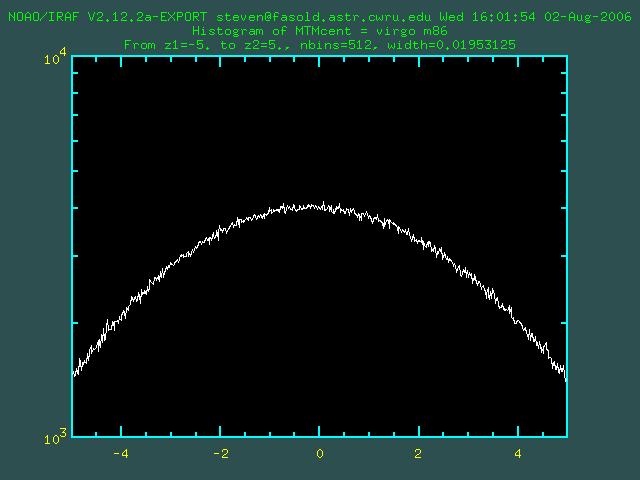
negative offset eh?
ALL THE DETAILS (you
probably don't want to be reading this)
Here's the selection of the image:
[M.fits]
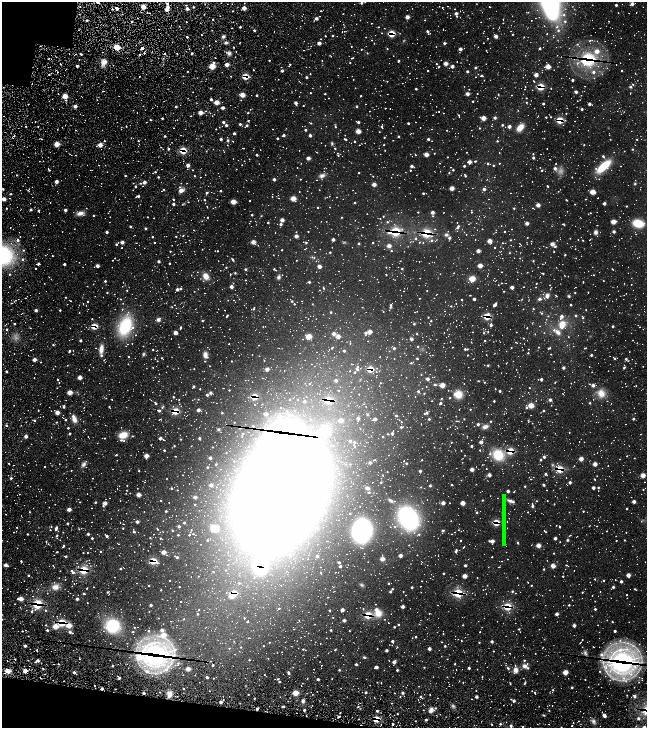
(note: the green bar is 5 arcminutes long, for scale)
Here are the regions selected for hand-masking:
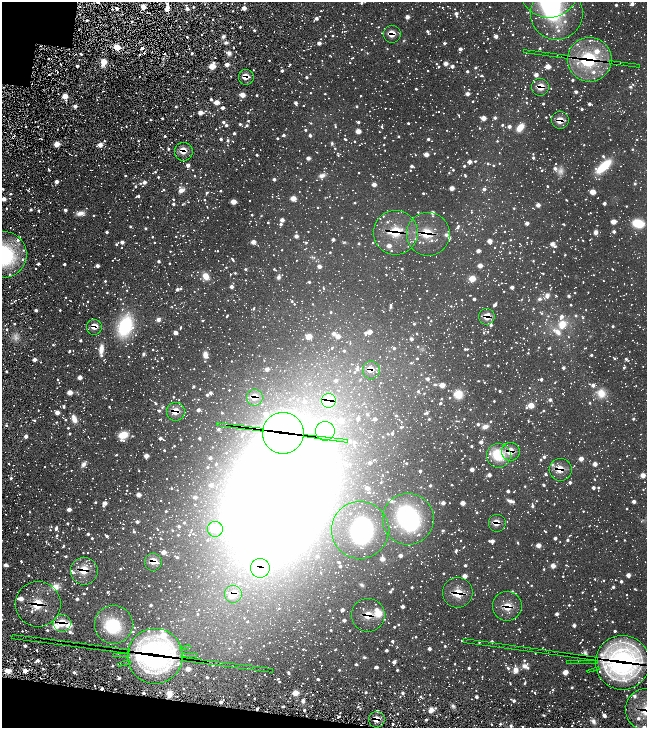
And here is the hand mask overlaid on the original image:
[Mhand.pl on M.fits]
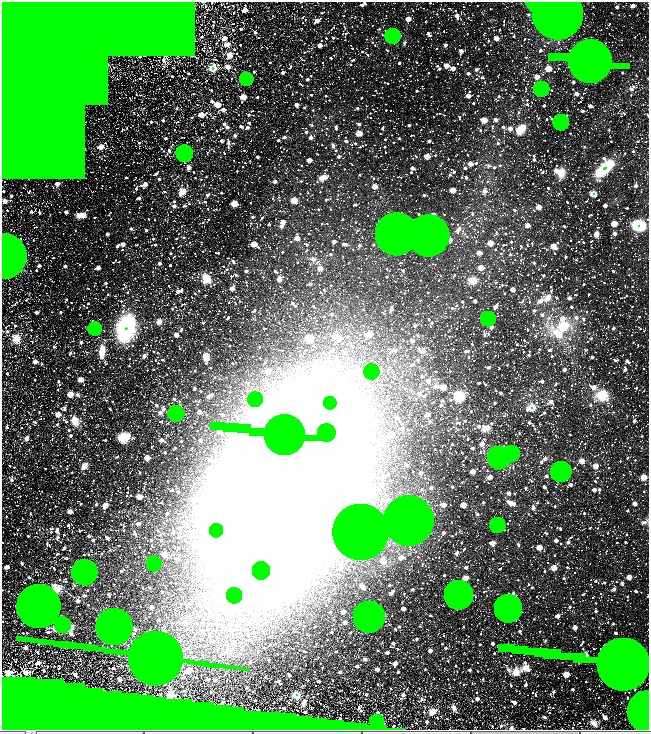
(Bright stars and other messy things are well-masked) [mask updated
8/1/06, fix rotbox problem]
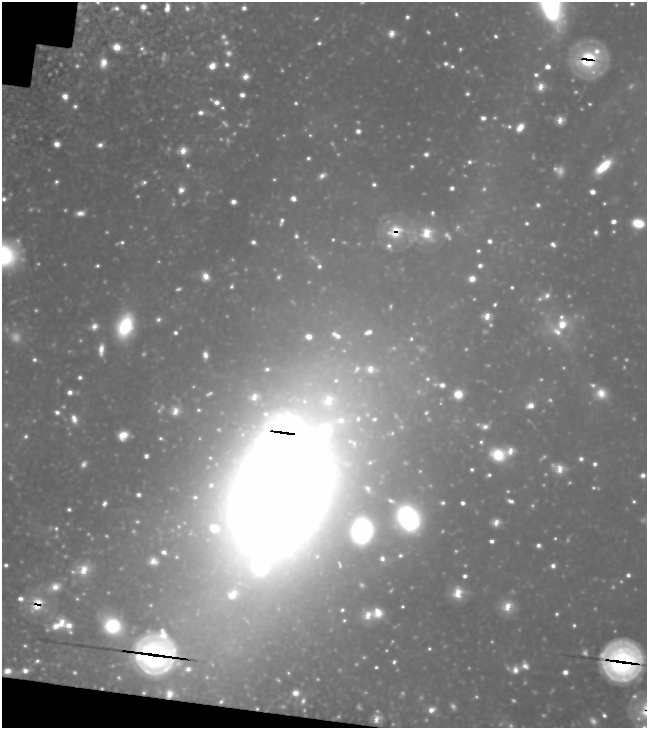
Smoothing with inner radius 3, outer radius 8 (as before) we get:
[Mr38.fits]
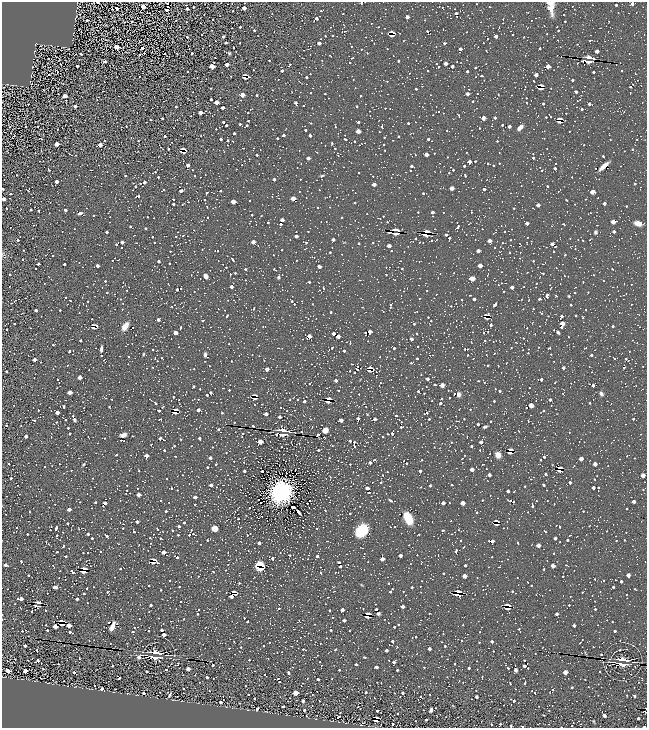
Subtracting this from the original image, we get:
[Mr38s.fits]
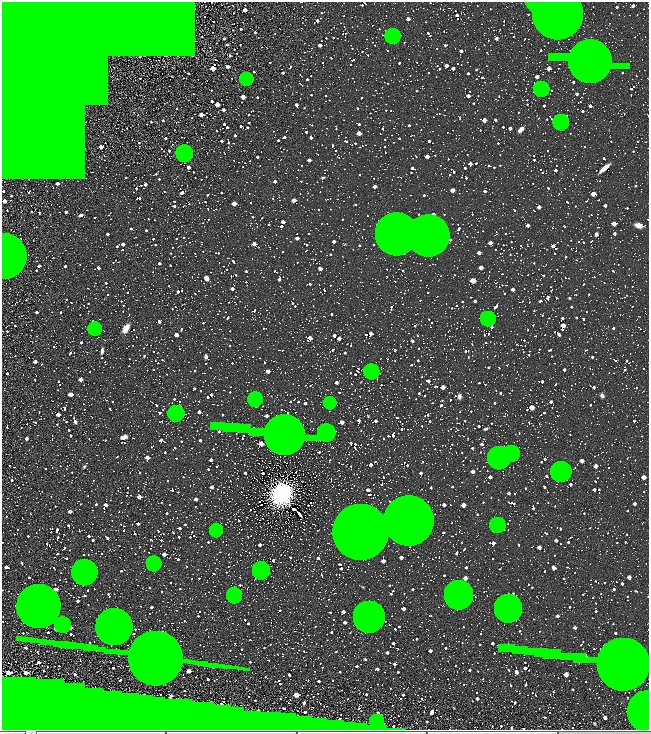
For completeness, here is the smoothed subtracted image with the hand
mask overlaid:
[Mhand.pl on Mr38s.fits]
Now, to begin we do OBJmask on the smoothed image with the hand mask,
with hsigma = 2. Here are the objects detected:
[Mr38sP1.pl on Mr38s.fits]
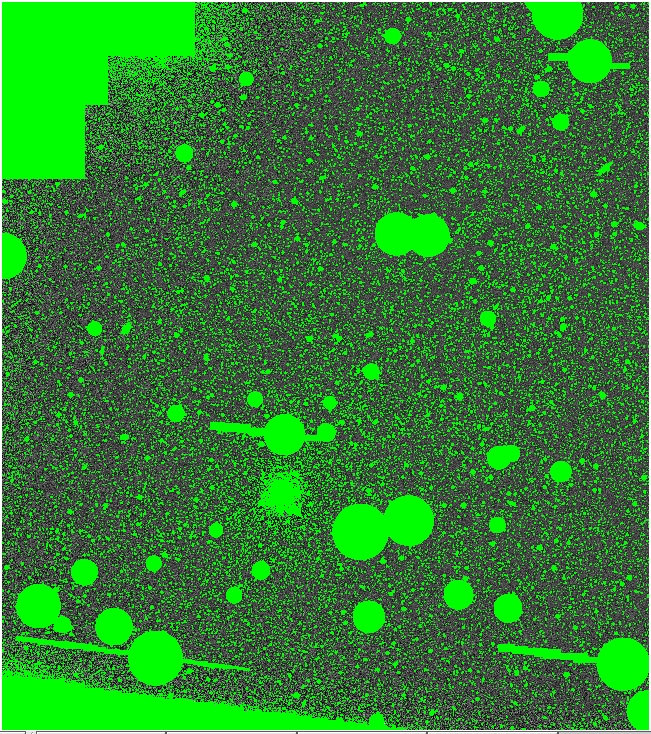
Now we need to create the UNmask of lore. We look at the contours
around an intensity of 450:
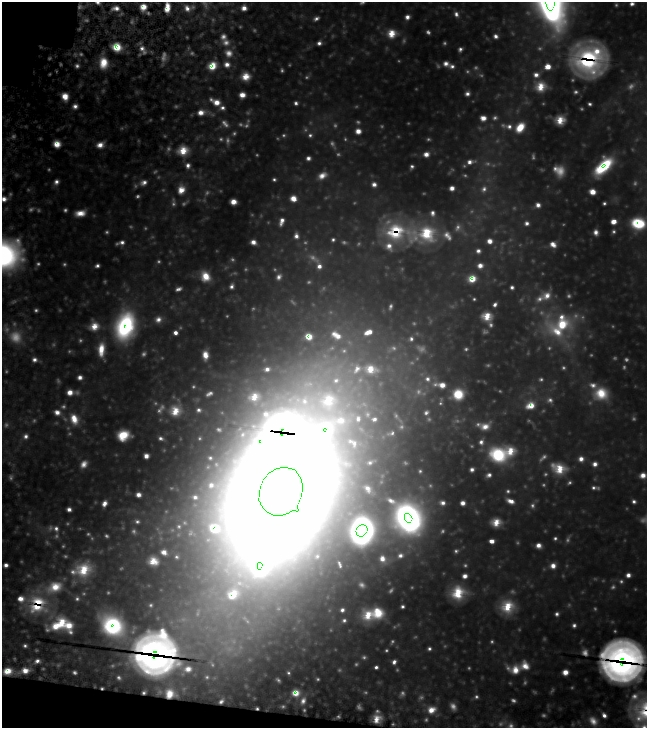
All of these are masked by the hand mask except the one around M87's
core. Perfect. Use imexpr to
make the mask:
[Mcent1.pl]

(0 on galaxy core, 1 elsewhere - will be multiplied soon)
Now we apply the UNmask (Mcent1.pl) to the OBJmask to get the result to
be sent to ellipse:
[Mr38sP1un.pl on M.fits]
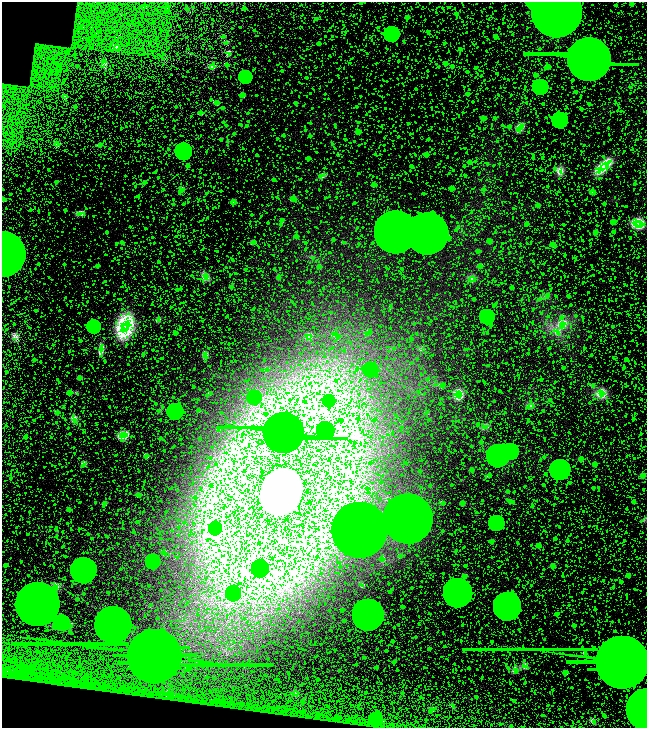
Inputting this to ellipse, we
get this fit:
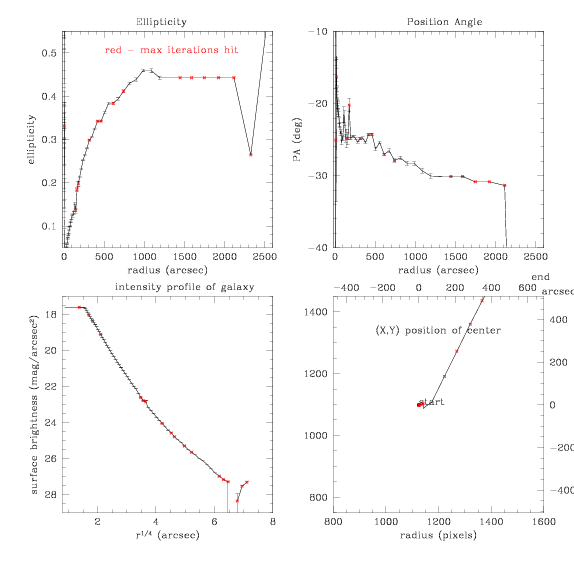
This is modelled with bmodel
and we see:
[Mr38sP1unM.fits]
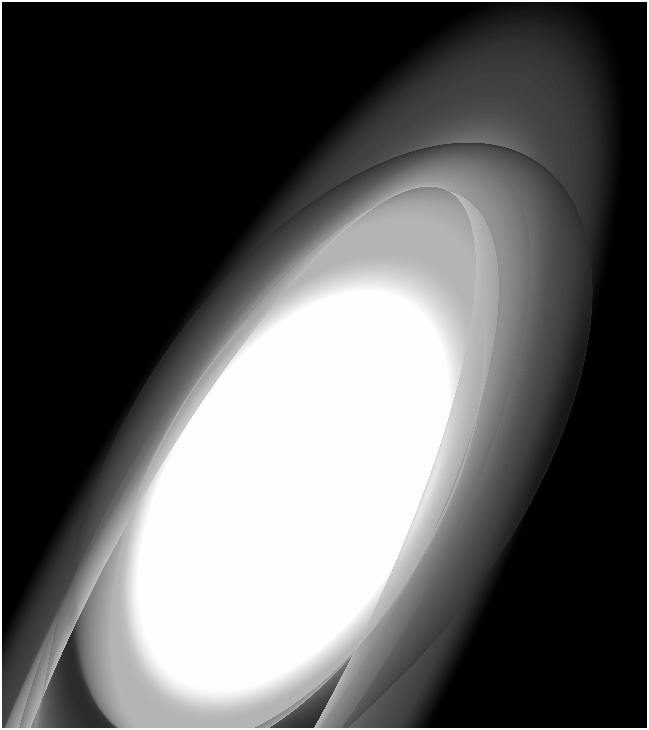
(good thing this is just our first iteration...)
Subtracting this image off the original, we get:
[Mr38sP1unMs.fits]
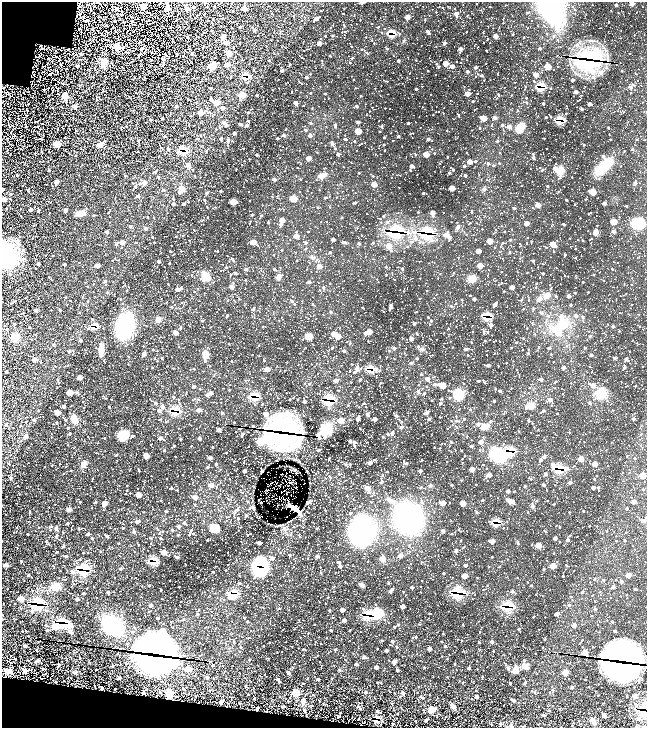
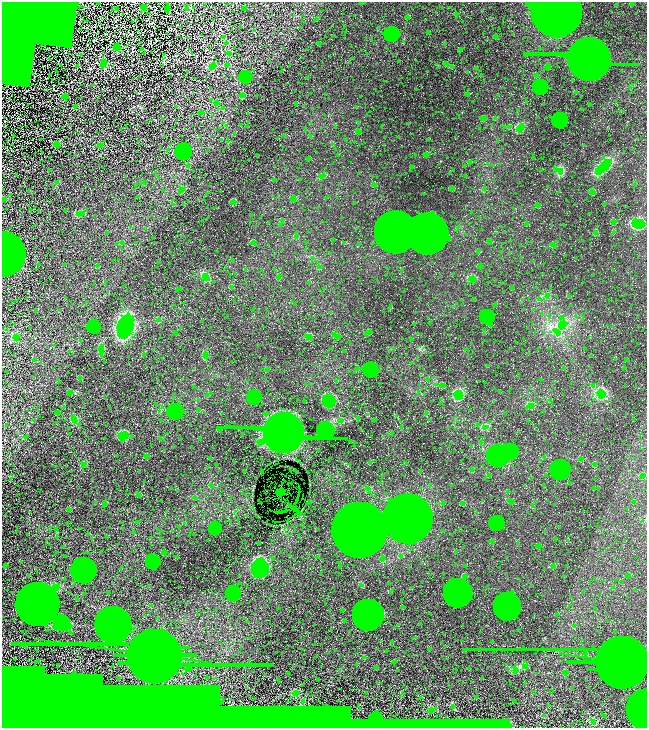
As before, we start up on OBJmask again, with hsigma=2:
[Mr38sP1unMsP1.fits]
And UNmasking the center we look at this on the original image:
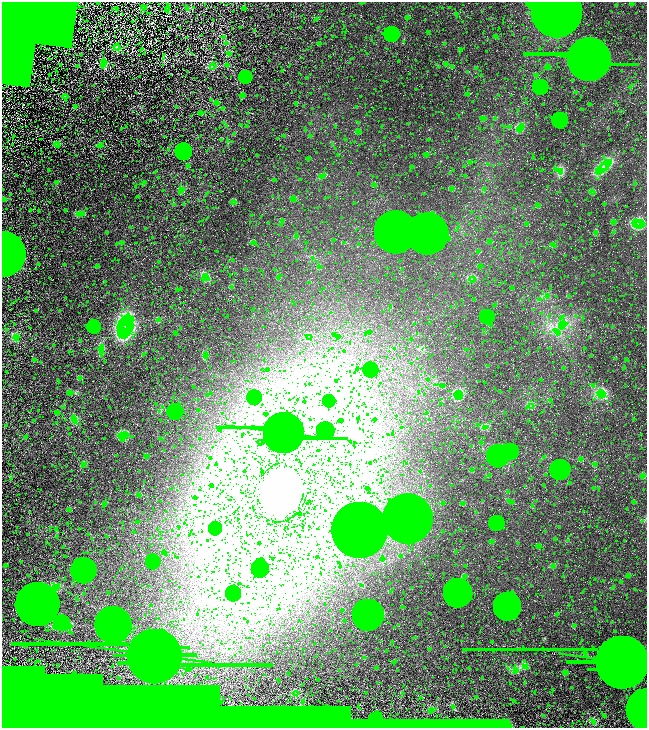
When we run ellipse on this,
the world isn't so happy... it refuses to go beyond about ~110 pixels
in radius of ellipse. I am currently unable to figure out why. Things I
have tried:
-Setting acceptable fraction of flagged points to 0.99
-Checking image by looking at what happens around 110 pixels, and it's
where the mask starts existing, i.e. outisde the UNmasked area
FIX IS BELOW -->>>
Well, here's what it gets for the fit out to 111 pixels
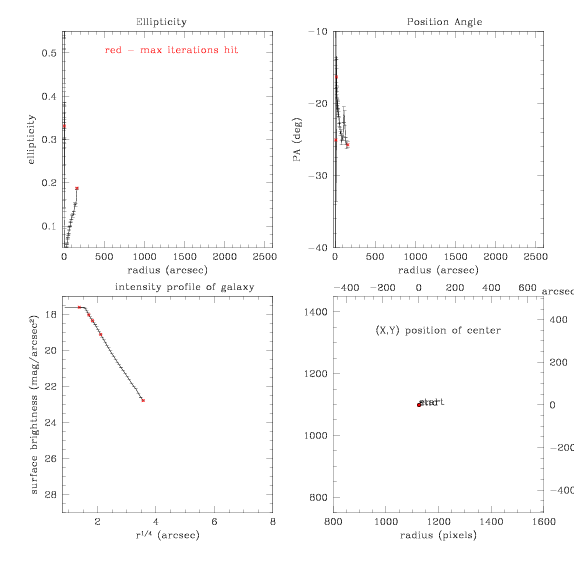
And here's the output from ellipse
on the terminal... yellow highlight shows the biggest radius it
accomplishes. Stop code 2 means maximum iterations was met.
Running object locator... Done.
#
# Semi- Isophote
Ellipticity Position Grad.
Data Flag Iter. Stop
# major
mean
Angle
rel.
code
# axis
intensity
error
#(pixel)
(degree)
#
20.00 6243.17( 28.61) 0.049(0.001) -19.80( 0.41)
0.006 114 8 20 0
22.00 5424.87( 51.30) 0.052(0.001) -20.13( 0.52)
0.029 131 3 10 0
24.20 4701.90( 28.52) 0.057(0.001) -21.18( 0.37)
0.027 139 8 10 0
26.62 4077.32( 40.38) 0.062(0.001) -20.21( 0.47)
0.023 156 5 10 0
29.28 3539.66( 38.09) 0.070(0.001) -21.50( 0.34)
0.022 169 7 10 0
32.21 3055.83( 22.82) 0.074(0.001) -21.45( 0.31)
0.017 186 8 10 0
35.43 2646.55( 27.35) 0.078(0.001) -22.39( 0.38)
0.015 198 15 10 0
38.97 2279.09( 17.98) 0.083(0.001) -22.97( 0.27)
0.017 224 9 10 0
42.87 1982.22( 32.39) 0.090(0.001) -22.97( 0.35)
0.018 243 13 10 0
47.16 1714.02( 35.50) 0.099(0.001) -24.19( 0.33)
0.016 272 8 10 0
51.87 1467.87( 23.13) 0.100(0.001) -23.91( 0.30)
0.013 294 14 10 0
57.06 1262.63( 26.46) 0.110(0.001) -25.41( 0.34)
0.014 326 11 10 0
62.77 1069.09( 21.89) 0.115(0.001) -24.76( 0.28)
0.013 359 11 10 0
69.05 902.94( 15.65) 0.125(0.001) -24.86( 0.29)
0.083 383 21 10 0
75.95 770.54(135.52) 0.125(0.004) -21.55( 1.11)
0.206 440 5 10 0
83.54 662.71(334.86) 0.130(0.004) -22.03( 1.05)
0.105 480 7 10 0
91.90 534.09( 62.12) 0.151(0.003) -25.21( 0.52)
0.046 517 12 10 0
101.09 436.60( 47.31) 0.148(0.003) -25.74( 0.56)
0.043 424 159 10 0
111.20
369.36( 24.00) 0.188(0.002) -25.74( 0.44) 0.567 474
152 100 2
18.18 7191.03( 56.99) 0.047(0.001) -18.78( 0.48)
0.007 105 6 10 0
16.53 8261.43( 68.24) 0.044(0.001) -18.47( 0.74)
0.008 98 3
10 0
[and then it goes down to 0]
1.07 CPU seconds.
0.03 minutes elapsed.
HERE"S THE FIX
Ok so I changed maximum acceptable grad. rel. error to 0.9 (it was at
0.5) and now it runs out to the big radii like it did before. Who knows
what that parameter means, I'll learn about it after I'm back from
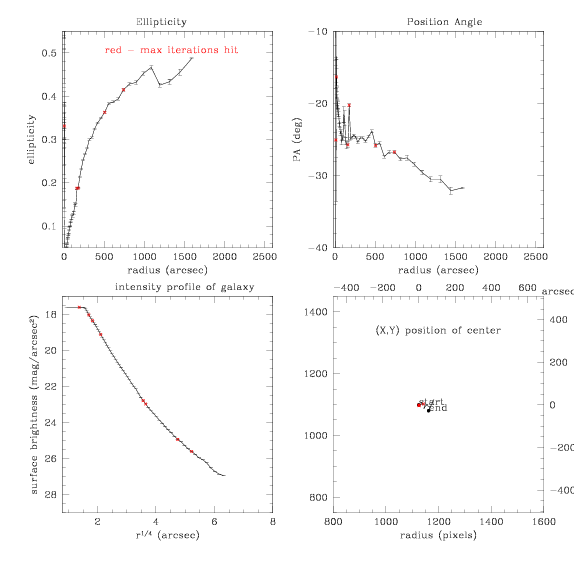
vacation. Here is the new ellipse
fit:
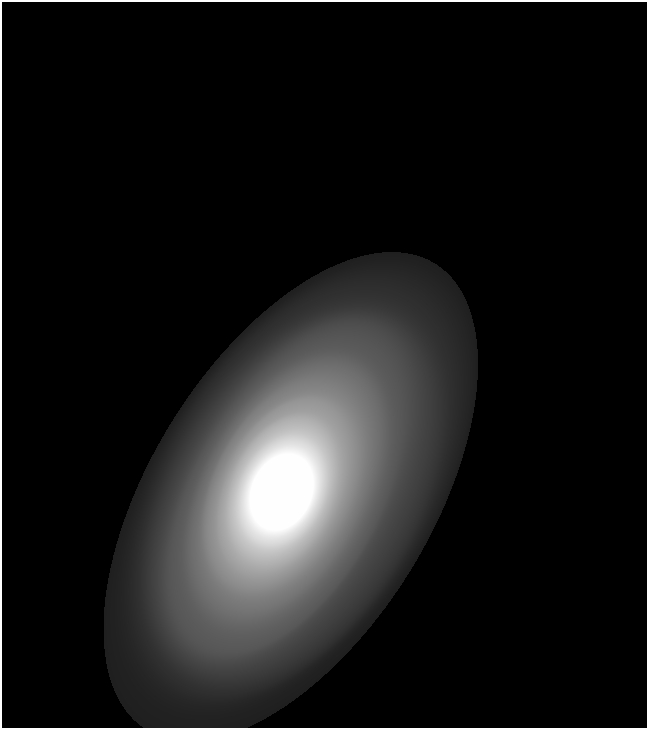
And the resulting model:
Trouble is, this fit didn't get out to as big of radii as before, so
it's not going to subtract very well.... Here goes:
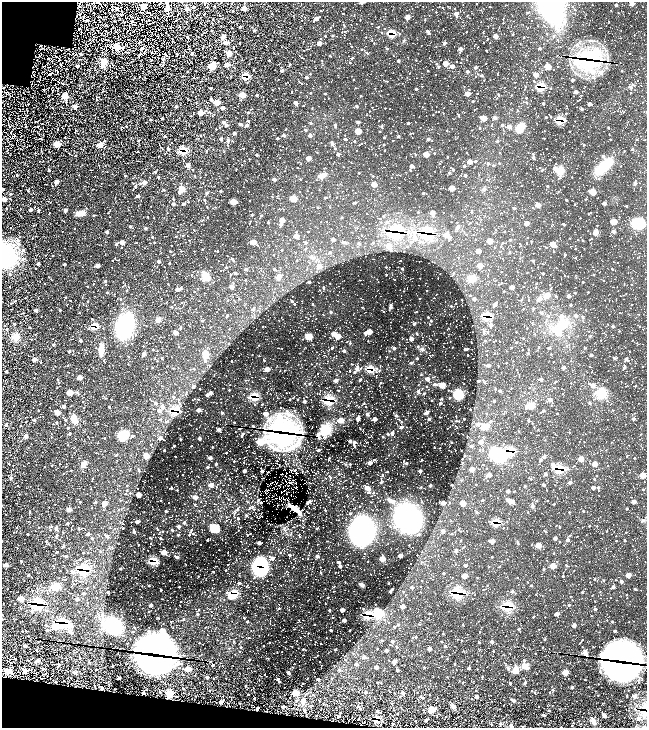
So, more iterations are needed but this fit needs to be expanded to
larger radii, first. August here we come.
playing
around with parameters left and right:
First idea, let's increase step size on ellipses, to get more light in
the larger isophotes:
We start with Mr38sP1unMsP1un.pl, the mask after the 1st iteration
above, trying to make a better fit for the second than we previously
could do.
Data file: Mplay1.d.dat
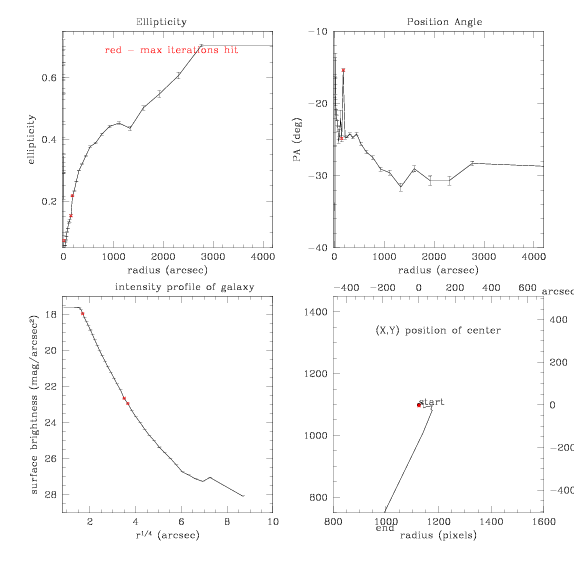
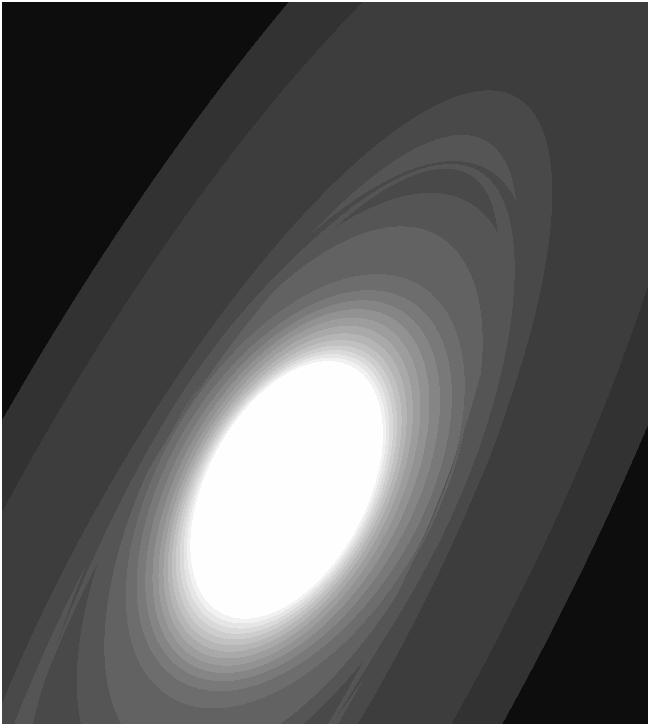
This model looks like this:
[Mplay1.fits]
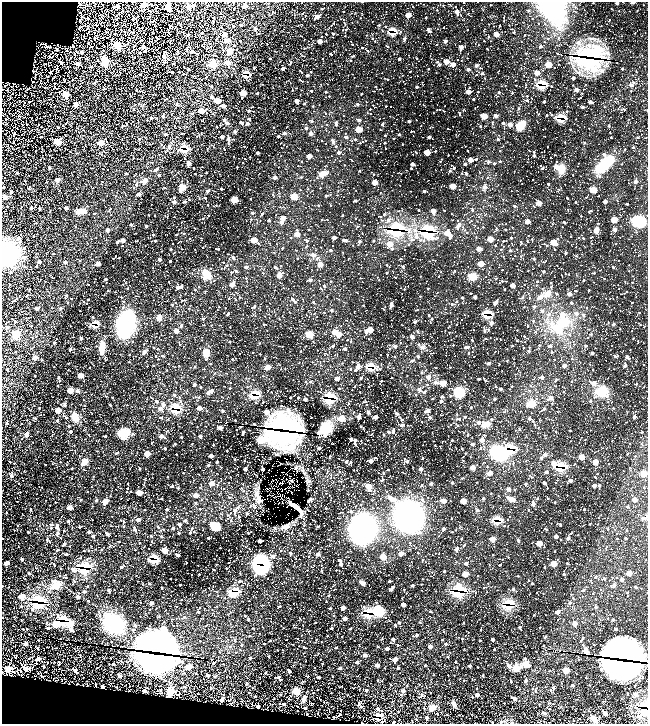
Subtracting this from the original image we get:
[Mplay1s.fits]
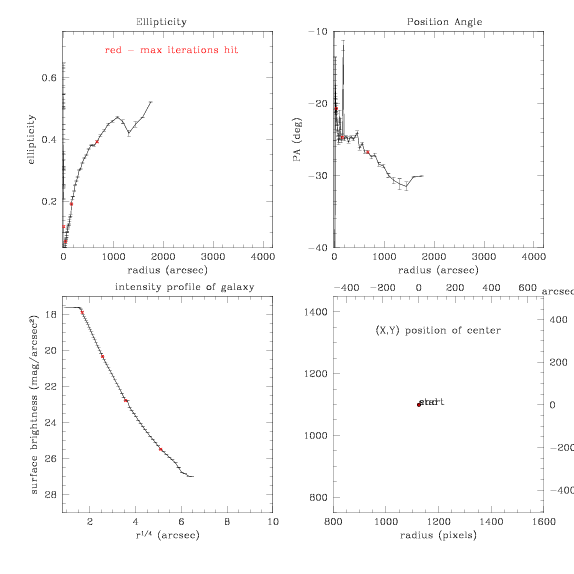
Next we play with making the center of the ellipses always constant and
set the step size back down to 0.1. Result isn't so hot:
and the model
[Mplay2.fits]
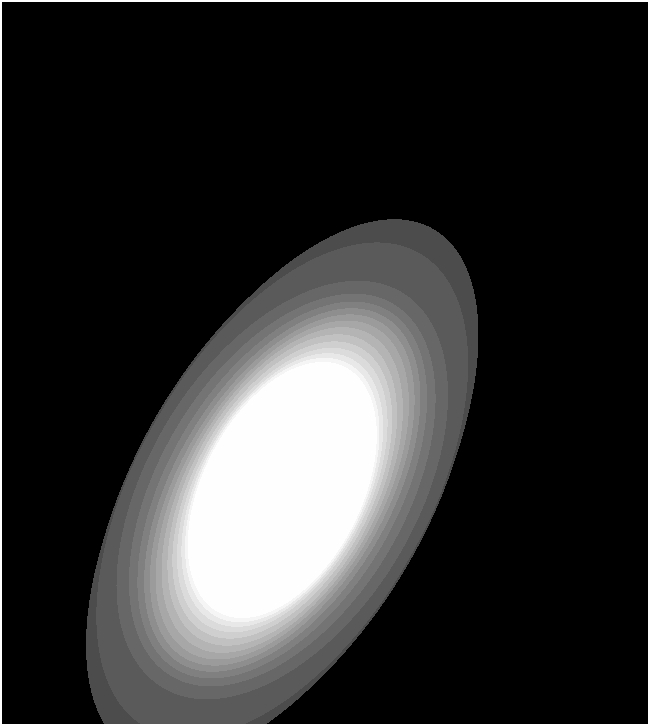
and the subtraction:
[Mplay2s.fits]
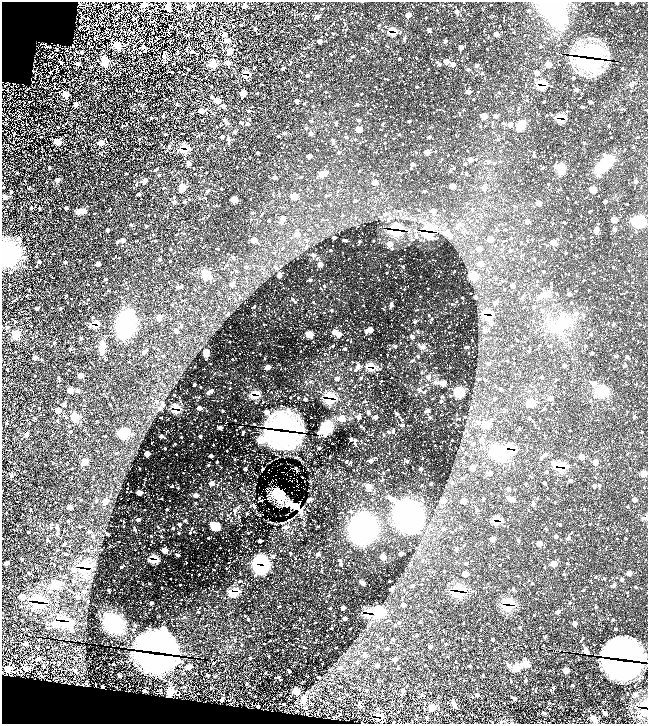
So now try fixing the center AND using step size of 0.2:
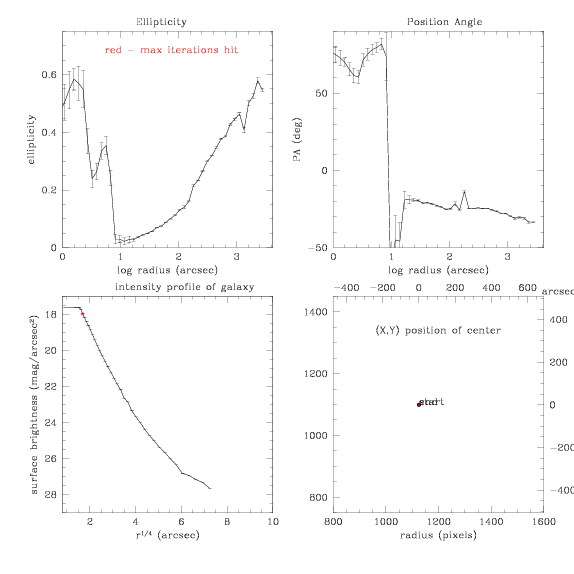
(note here we've also changed the x axis on the upper two plots to log
scales)
and the model
[Mplay3.fits]
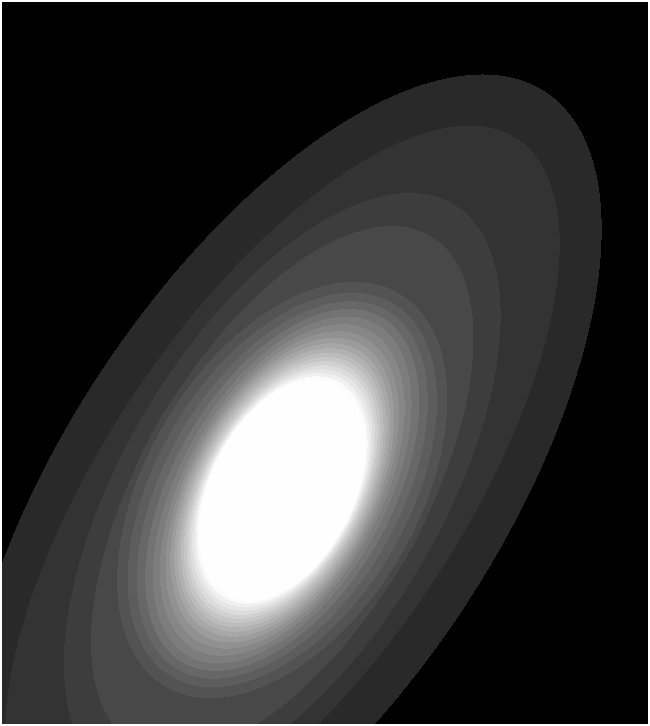
and the subtracted image
[Mplay3s.fits]
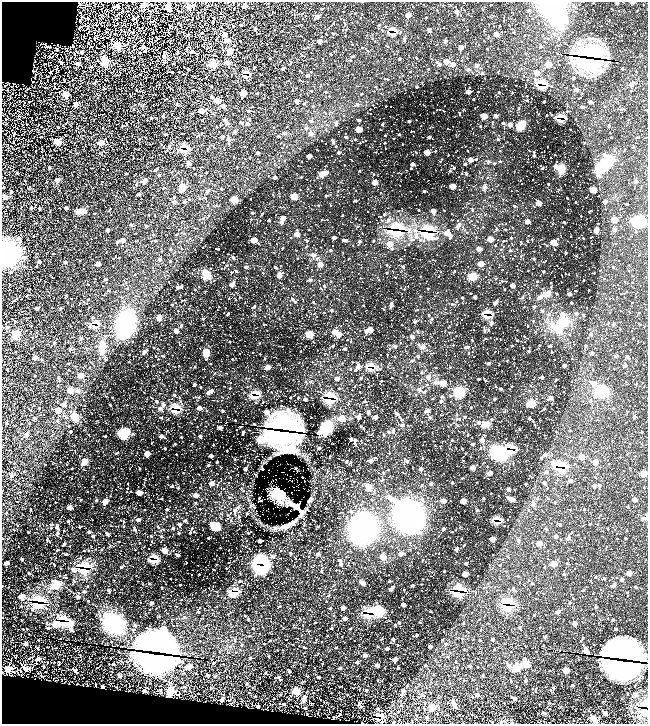
This is not really much of an improvement, at least not in terms of
size of the fit. Let's try making the step size increasingly larger....
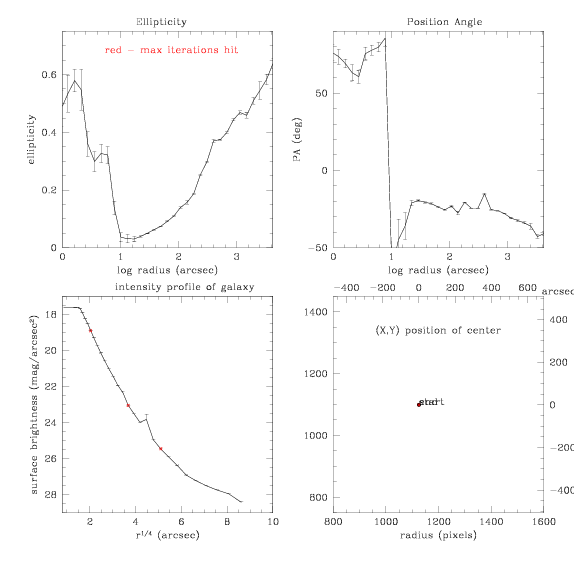
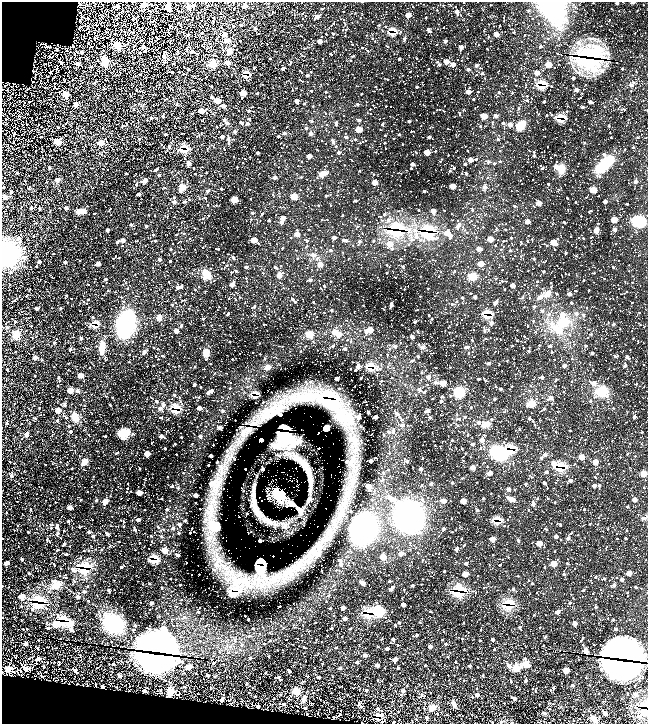
Making the center stay fixed, here is a step size (only graphs and
subtracted image are shown, for simplicity) of 0.3:
(sigma clipping is back to +/- 3 sigma, at this time, too)
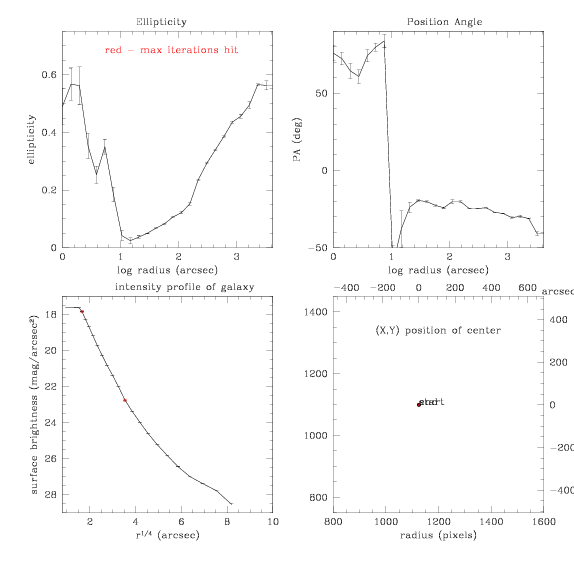
So this is trouble, but, just for kicks, let's turn the step size up to
0.4, and just see how it goes:
And the subtracted:
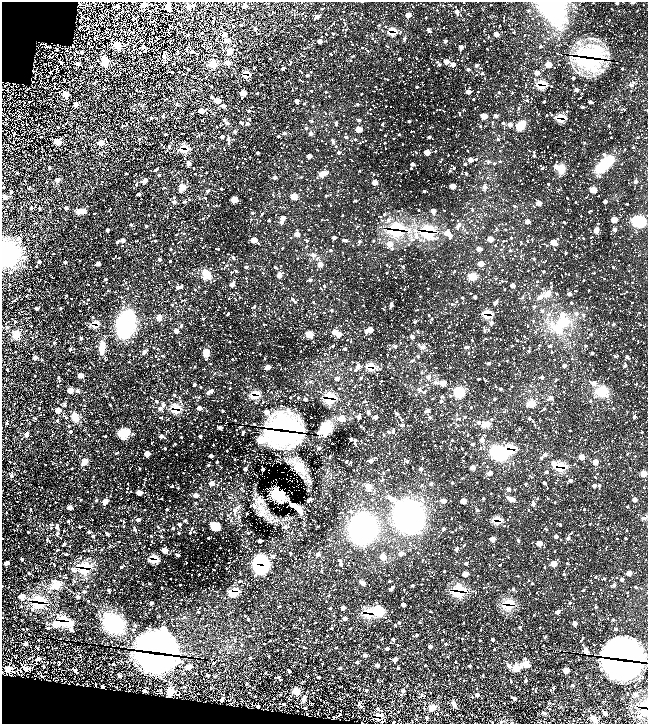
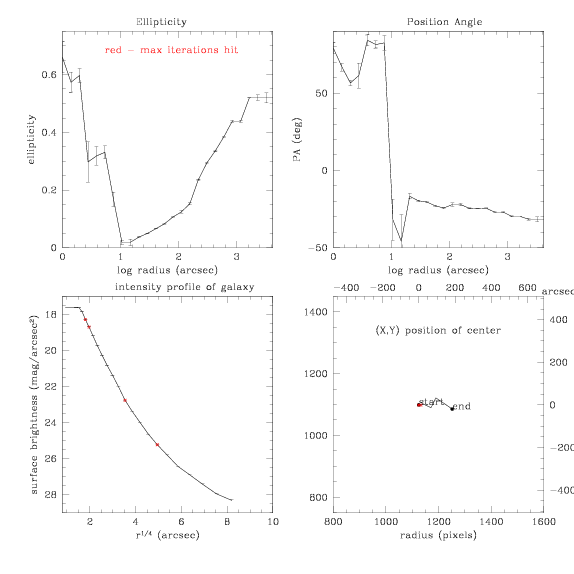
Interesting. Let's allow the center to vary now, still with a step size
of 0.4:
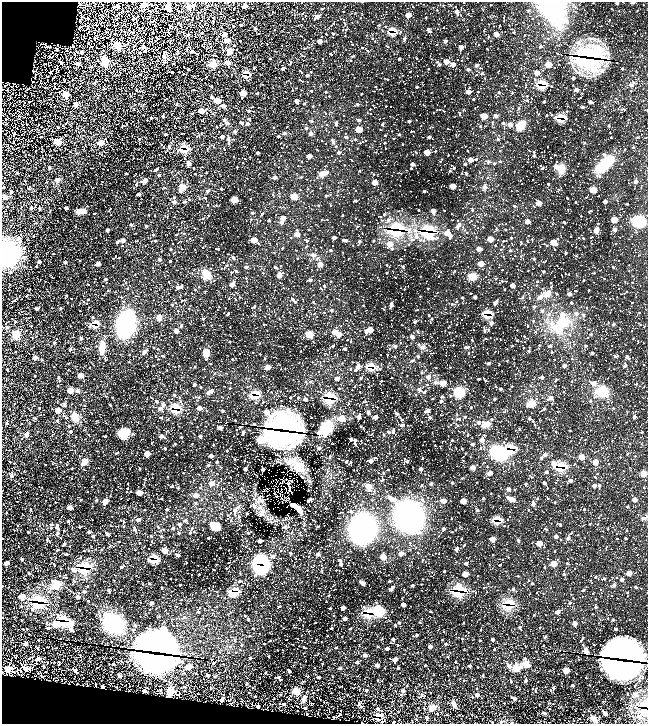
Additional bit: setting initial PA at -20 to try and avoid that big
jump in PA:
and subtraction:
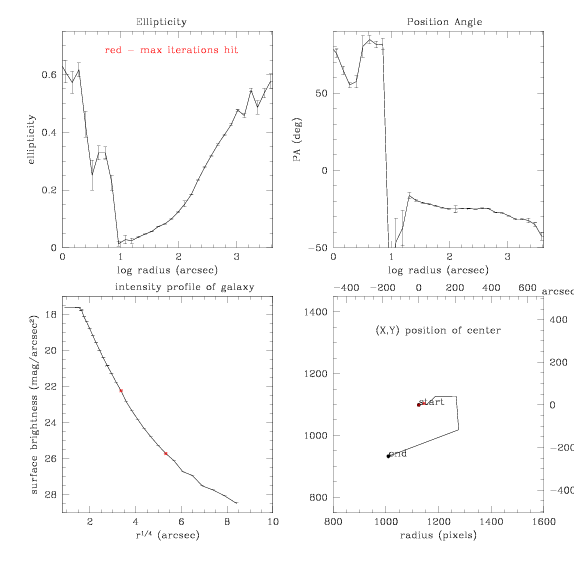
Next, try setting the starting SMA at 40px instead of 20 where it was
before.
Step = 0.3, center is allowed to vary.
and the subtraction:
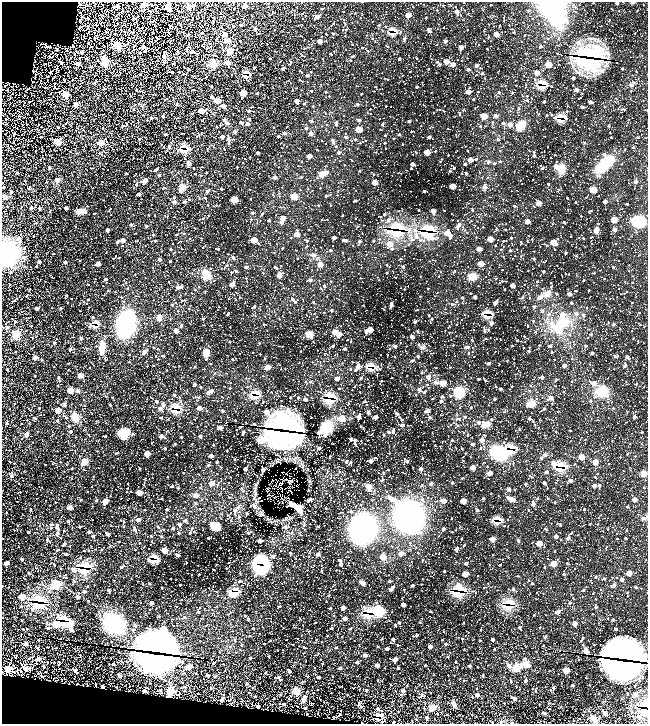
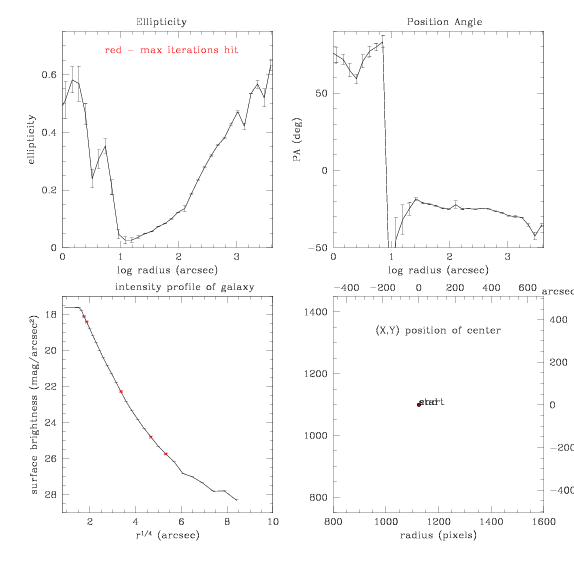
Next, keep the center fixed, but start at 40px SMA and use step size of
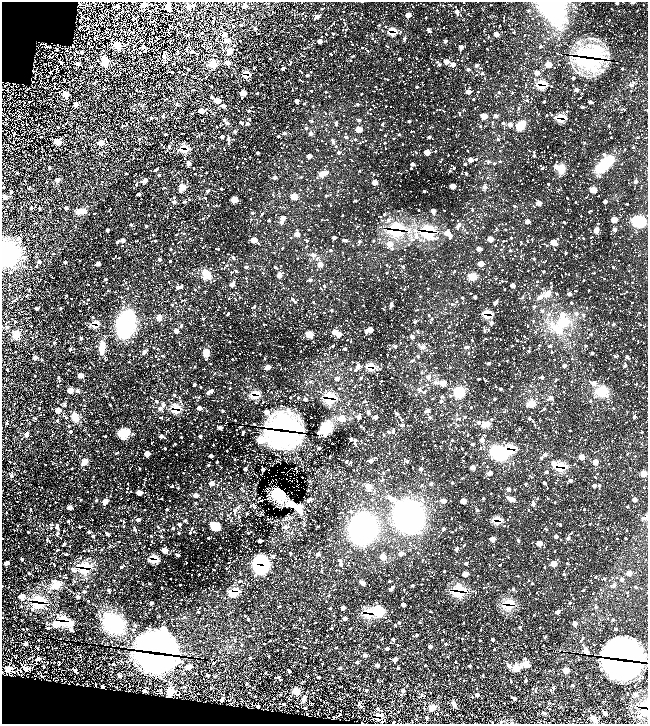
0.3:
and the subtraction:
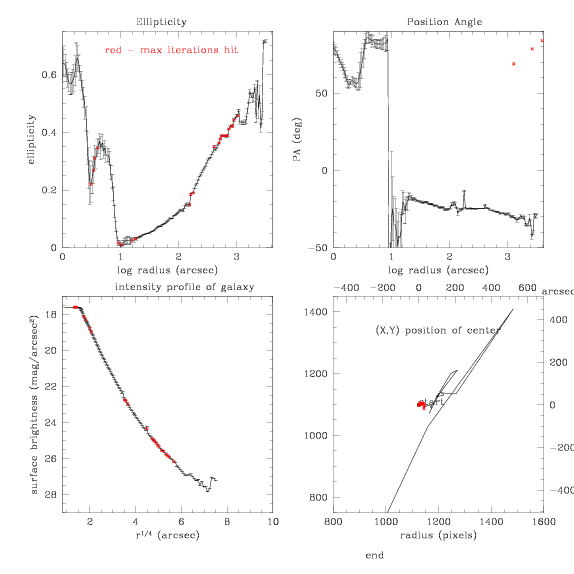
Now, we try some small step sizes, just to watch it blow up. Here is a
varying center, step size of 0.05, and an initial SMA of 40:
and the subtraction
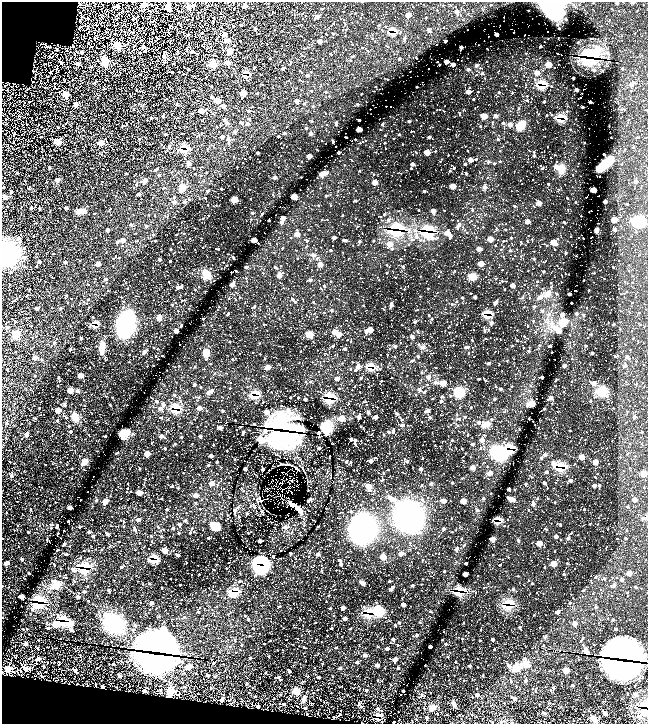
Yep, bright stars are really messing things up here
New stuff:
Using fancy multi-lingual programs, the stars are 'detected' and
subtracted from the image. The result is finalstarmask.fits, from
Mihos's (earlier) data reduction. I have (im)copied it to
finalstarmask.pl. It's shown here overlaid on our region around M87:
[M.fits with finalstarmask.pl overlay]
Final Star Mask
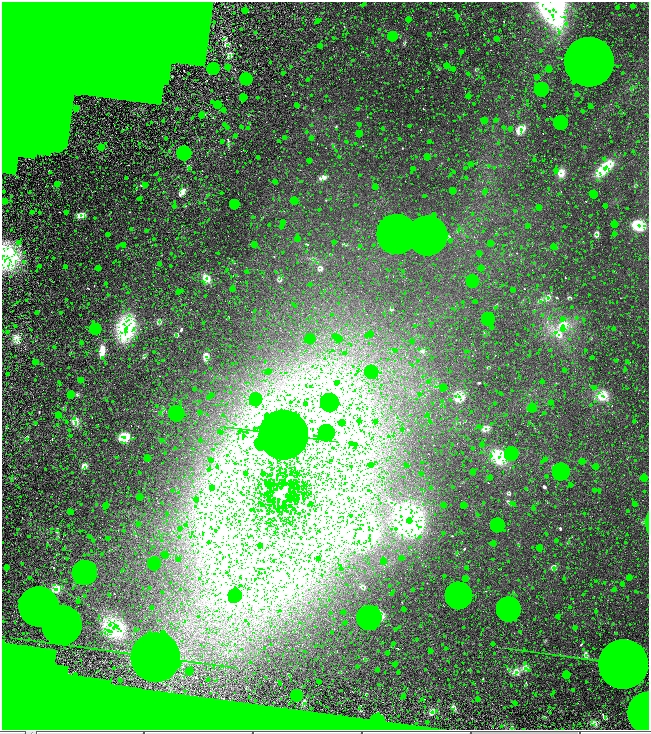
see hand mask
^^^
To compare this with my hand mask, use the links to click back and
forth.
Here is the hand mask:
Hand Mask:
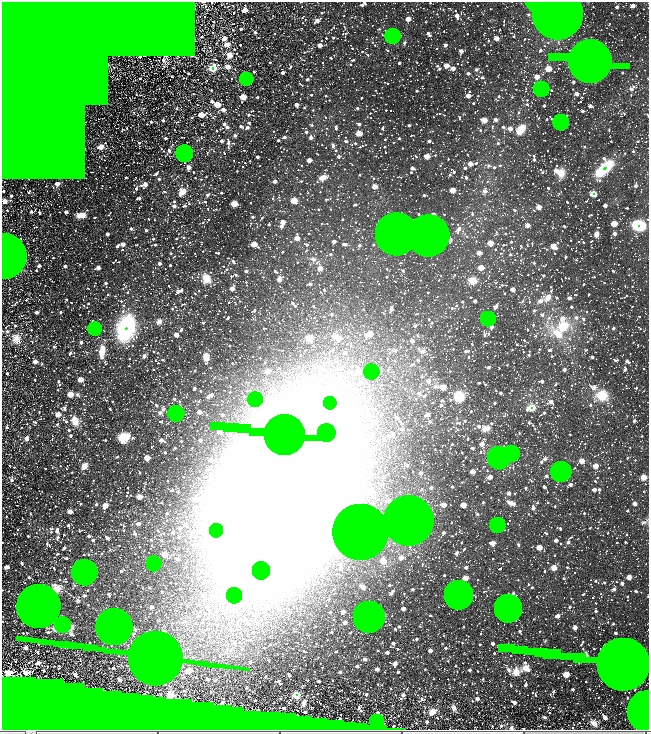
see final star mask
Now we compare the final star mask with my OBJmask + hand mask. First
here is the final star mask, again:
Final Star Mask:

see the OBJ+HAND mask
and the OBJmasked + handmasked version from me:
OBJ + HAND mask
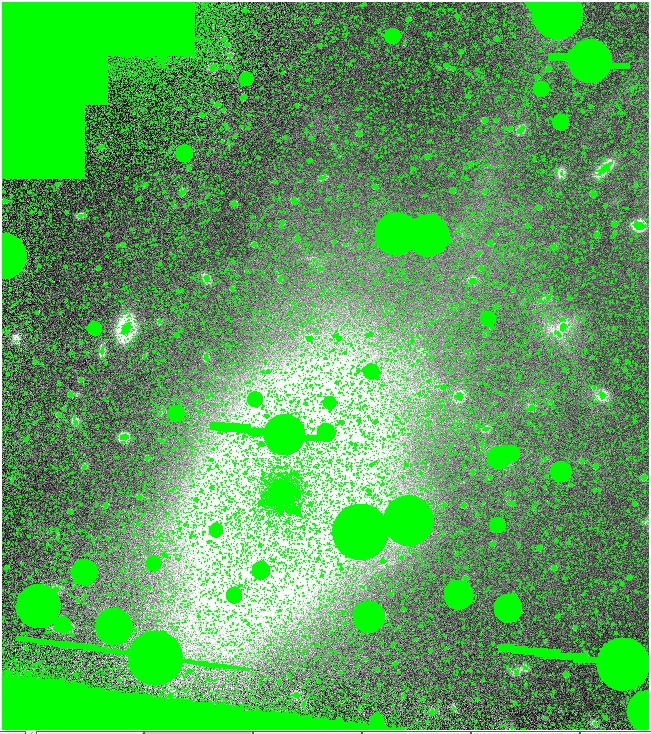
see the final star mask
Now we run the ellipse fitter
on both of these, the final star mask and my hand+obj mask, and compare:
ellipse ran on M.fits with the
final star mask (and my hand mask to get rid of
galaxies) as the bad pixel mask, and here is the graph of the fit:
(step size of 0.2, center is allowed to wander)
BOMBs
Ok, so this doesn't work in ellipse
as the core of the galaxy is too much masked for it to fit anything.
Solution: a New UNmask. This time, instead of all that surface
brightness cutoff stuff, the UNmask is just a circular region around
the galaxy core. This is the first one we try, Mcent80.pl, a circle of
radius 80":
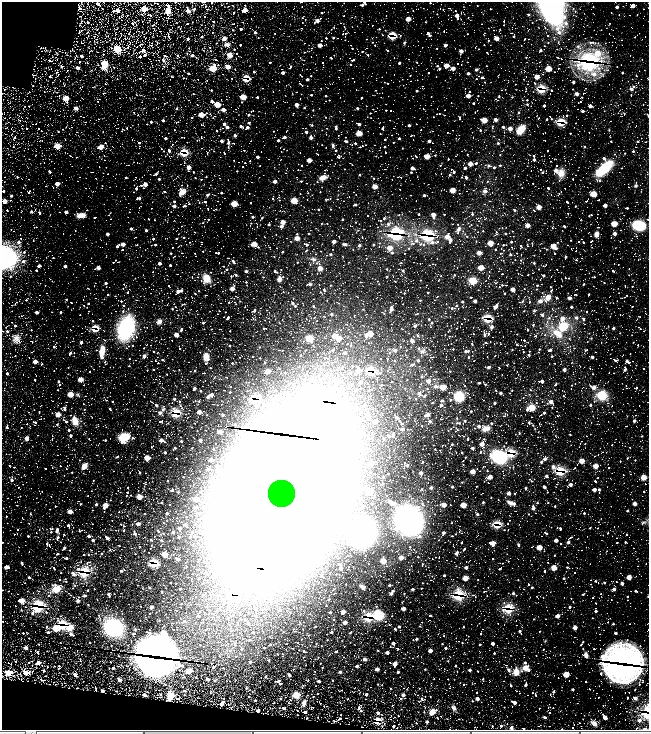
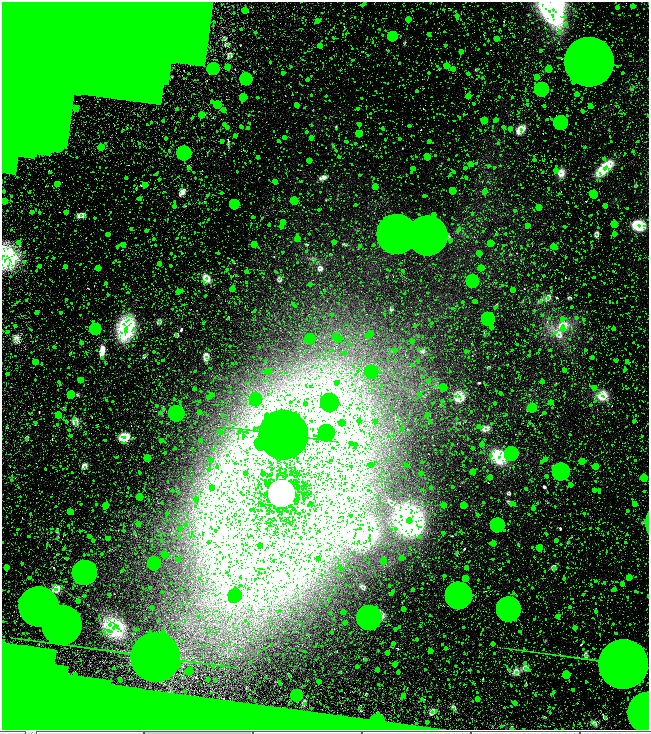
To get this unto an UNmask format like before, we invert it, leaving a
value of 1 everywhere except the center, where it's 0.
Here is what ellipse will see
[fsmc.pl on M.fits]
When we let ellipse loose on
this, with an initial SMA of 40", step size of 0.3 [smaller step sizes
bombed, owing to the large star masked nearby, I think], and a fixed
center, we get:
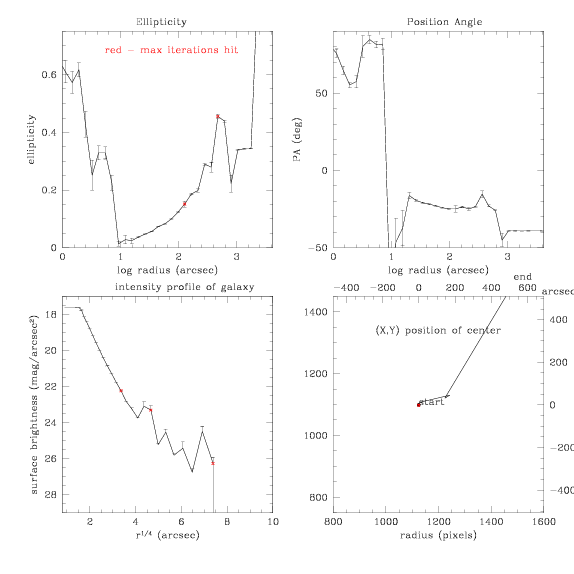
This is fairly consistent with what we found before. Let's increase the
unmasked section at the center and see how that affects the results.
Now the UNmask in the center is Mcent150.pl, which is a circle of
radius 150", centered at the galaxy's center (1122, 1101 in x,y coords)
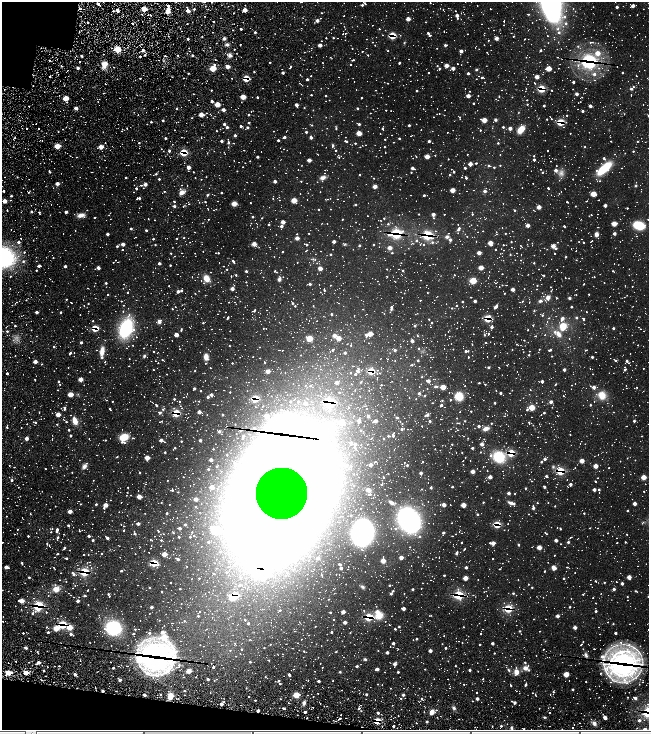
Using this unmask on the finalstarmask we get these ellipse results:
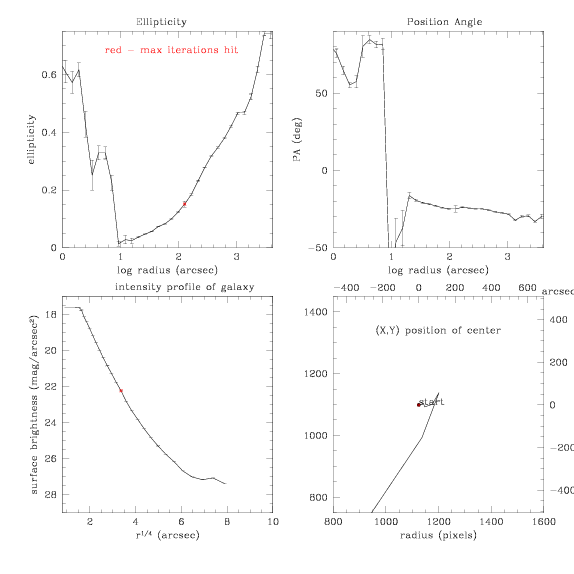
...which make this subtraction from the original image:
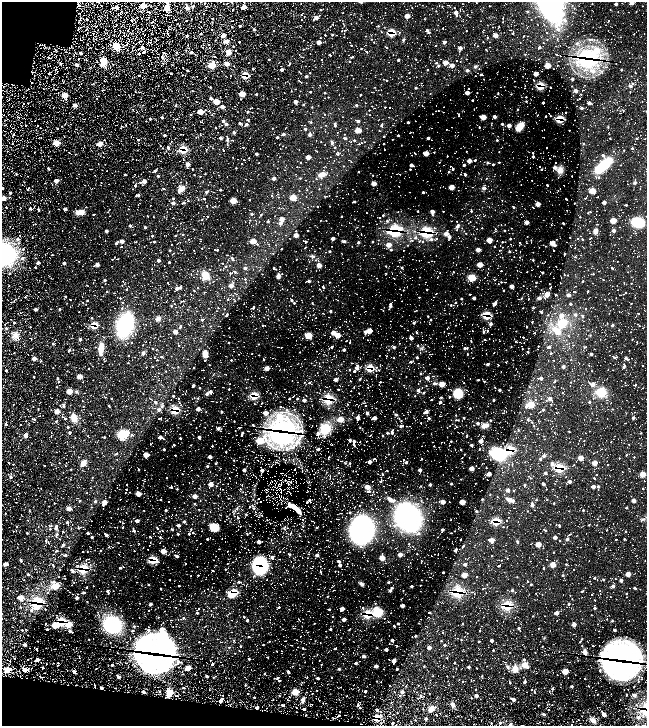
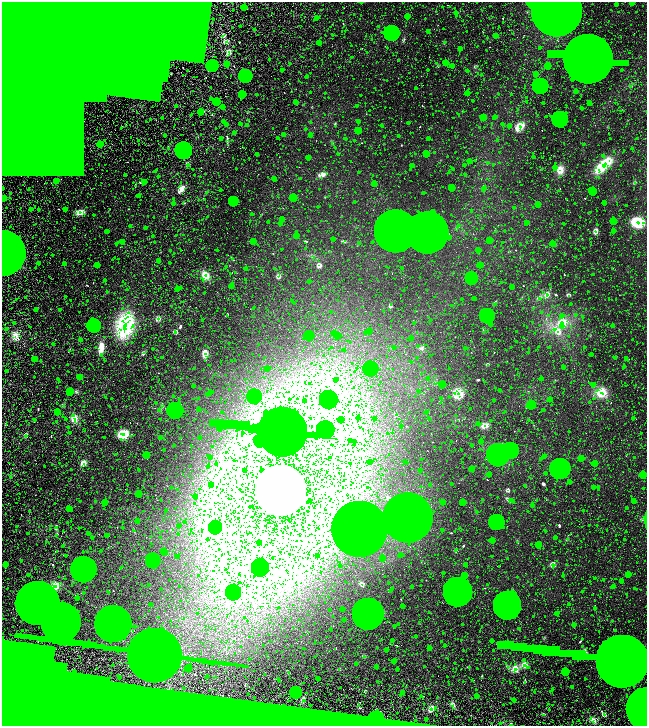
Trying a combined mask of the hand mask, the final star mask, and the
central (150") unmask (Mall.pl), it looks like this:
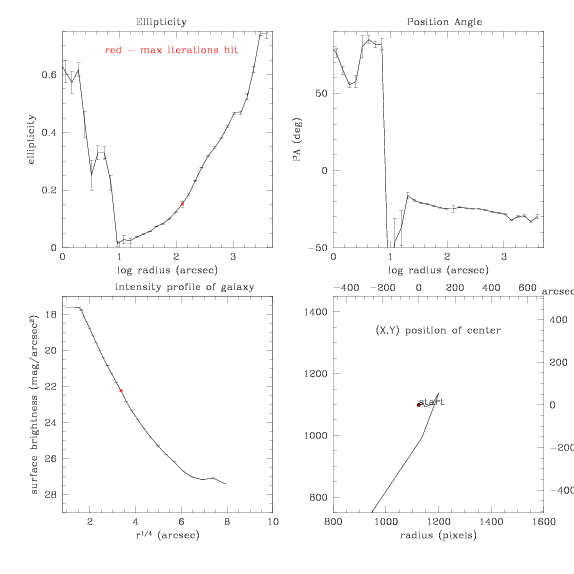
and the ellipse fit is: (step
size 0.3, center can vary)
and the subtraction from the original:
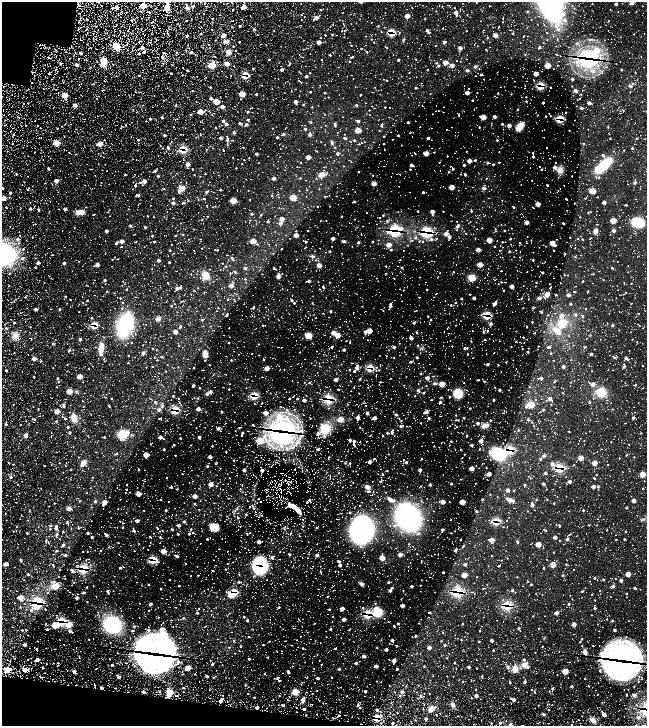
This fit still doesn't go to as big a SMA as earlier ones, that is what
is next approached. Why does it stop where it does?
Turns out, it bombs at that SMA because it hits more than 80% flagged
(bad) points (we set 80% as the limit, previously). I remove this
stipulation and
Center is also fixed, at this point, at (1125, 1099) in pixels. Max SMA
is set at 10,000 px too, since without the flagged % stiuplations, it
would never stop, otherwise.
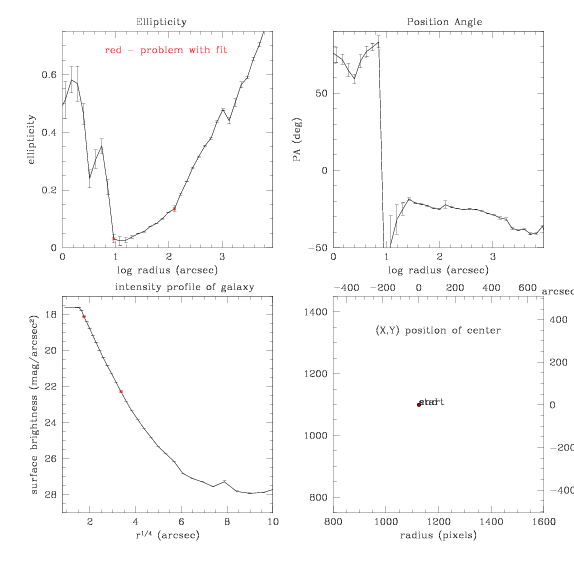
[Mall2.dat]
New fit:
And the subtraction:
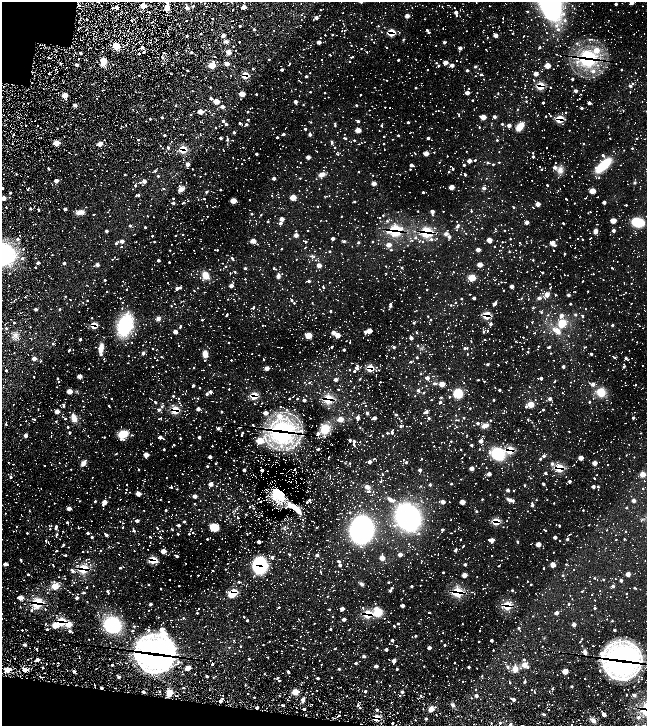
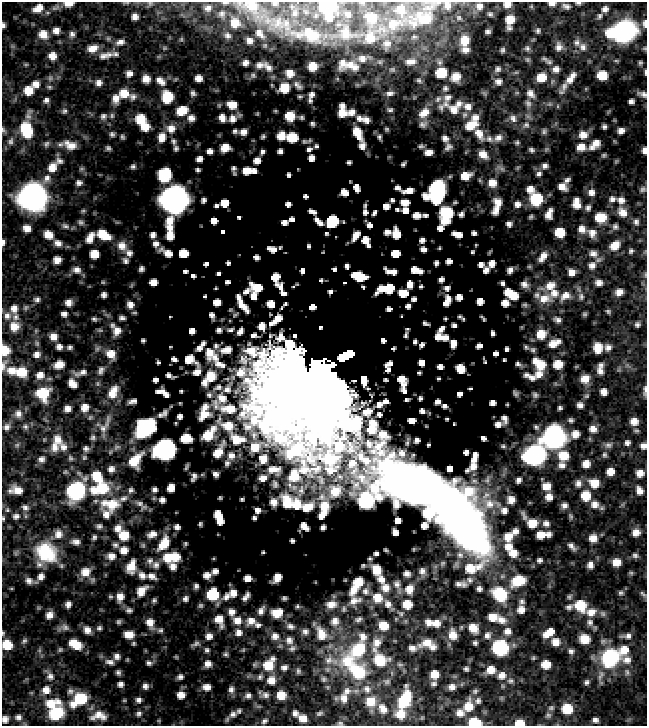
Interesting looking bit around the core there... here's a closeup.
Click the image to flip back and forth between the subtracted image and
the original image.
Subtracted image
Original image
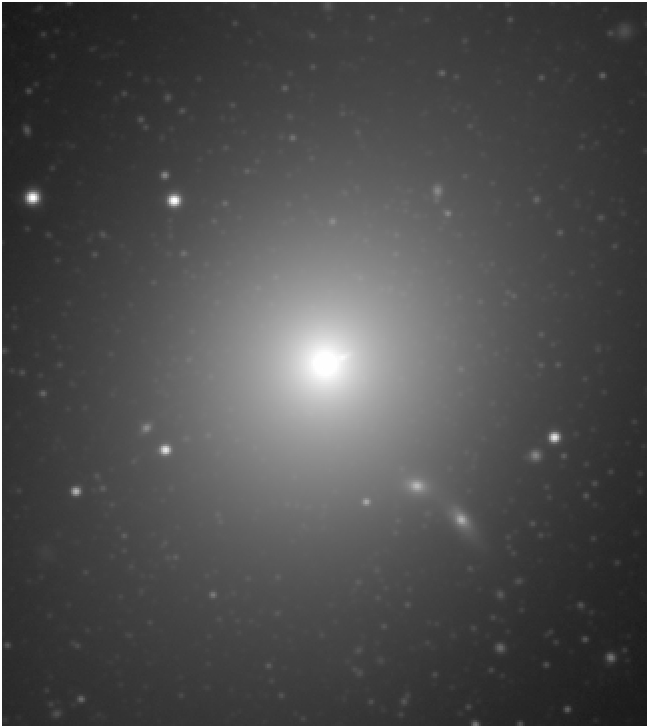
So the center is either asymmetric or something funny is going on with
our fitting/masking stuff...
Mall2s2.dat - step size back down to 0.2, everything else the same:
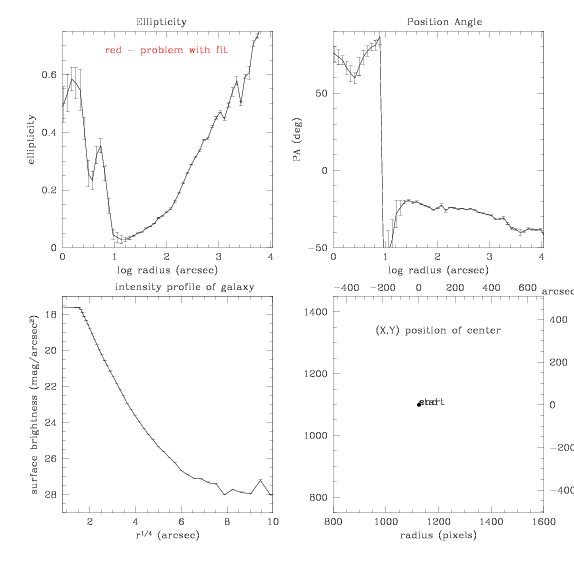
And the subtraction:
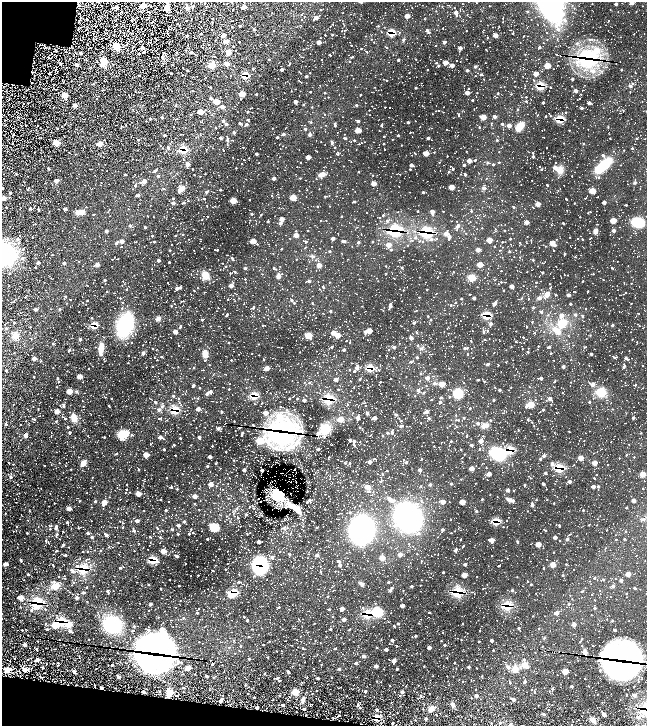
If we bin this up with rmed (i=1, o=3), adjust the scale to go between
-25 and 50, we see the residuals of the subtraction very well:
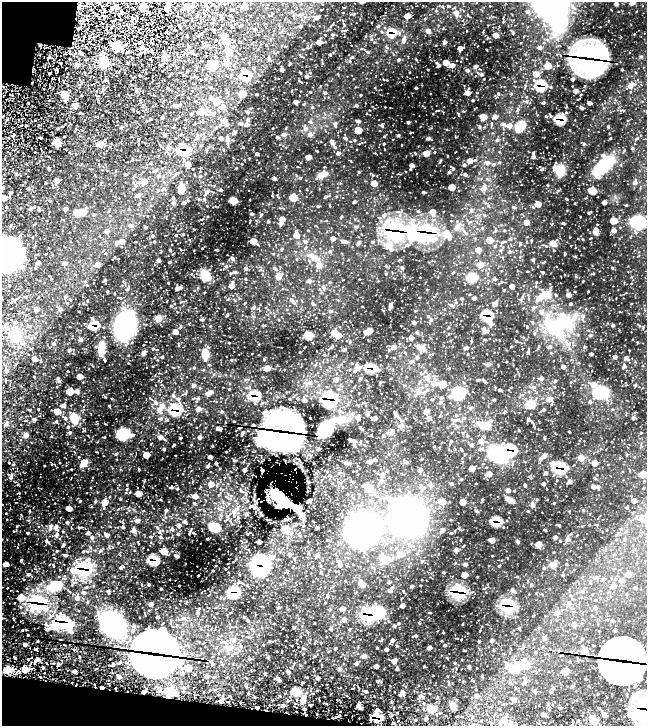
There are portions of the image that are negative - some areas (away
from the messy core) have values as low as -21, but most of the
negatives (except the very dark black spots) are only a few below zero.
compare our results with others'
back to main Virgo page


